Category: Woodworking
Danish Modern Floating Nightstands
These handmade reproductions are designed after a mid-century Danish Modern design that I saw online. They are truly floating shelves and are intended to be bed-side, but I suppose they could be mounted in any room: near an entry door for your keys and mail for example.
I made them my own by adding a ‘pencil roll’ to the top edges and by using walnut – not typically a hardwood found in most Danish modern designs. Solid rosewood is pricey, and I do not like working with veneer. So while the design is truly Danish inspired, the result is something more local.
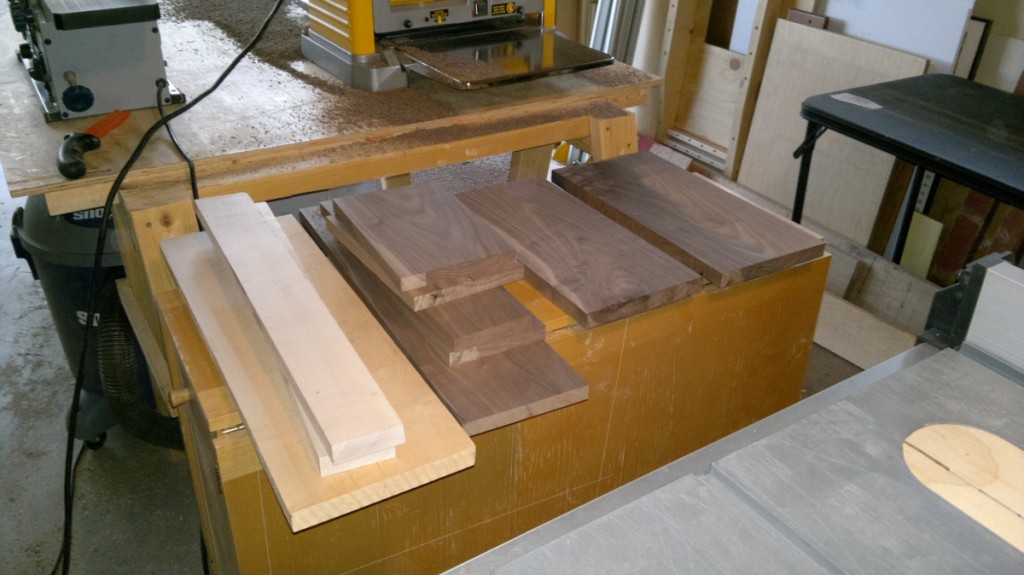
Preparing the stock below
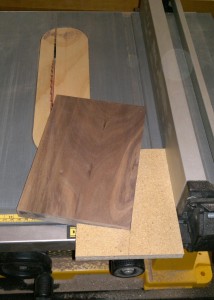
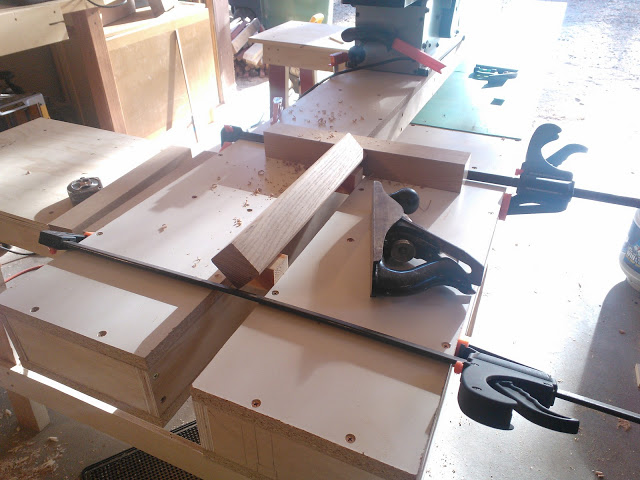
My 5-minute shopmade taper jig just for the job:
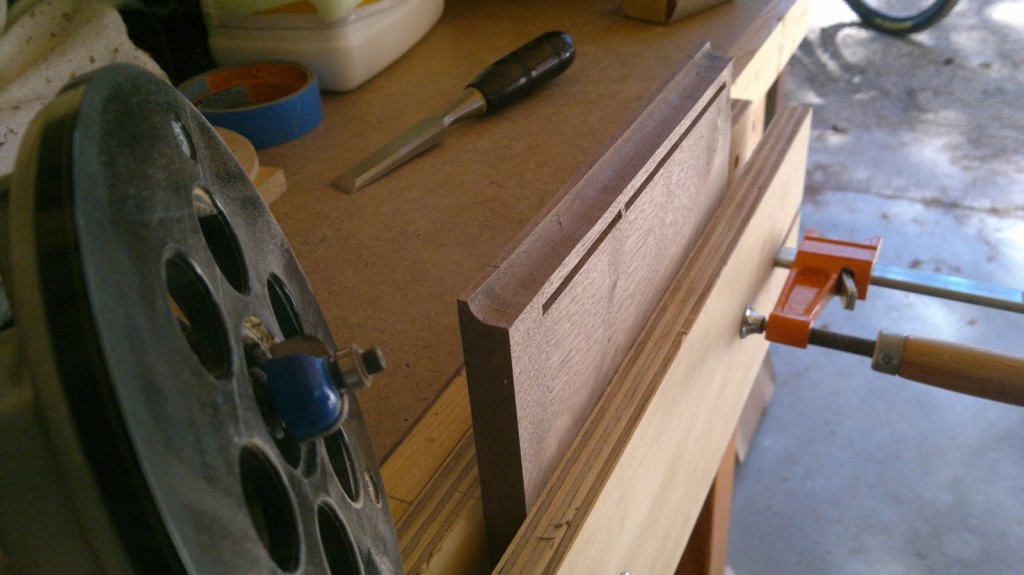
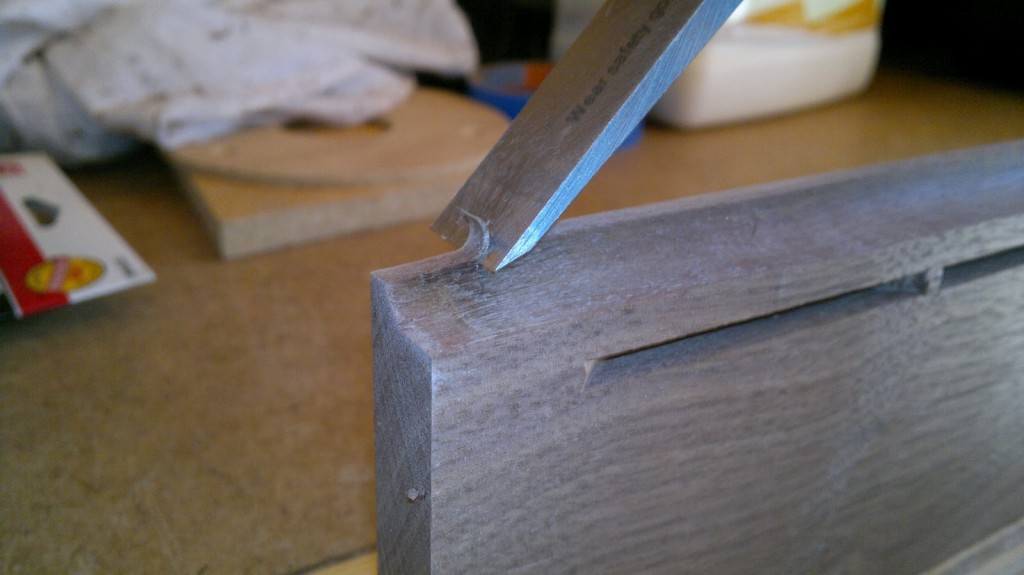
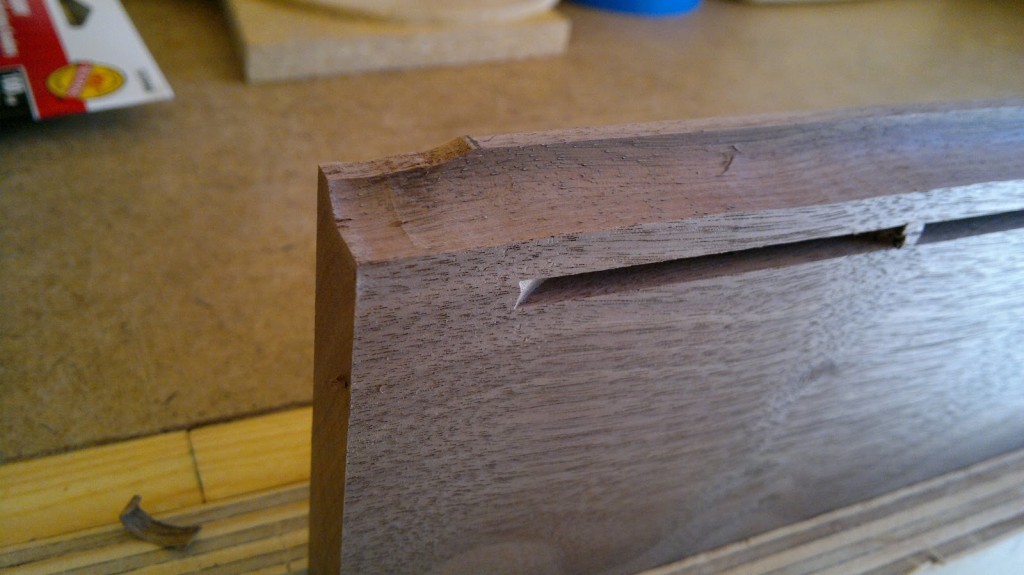
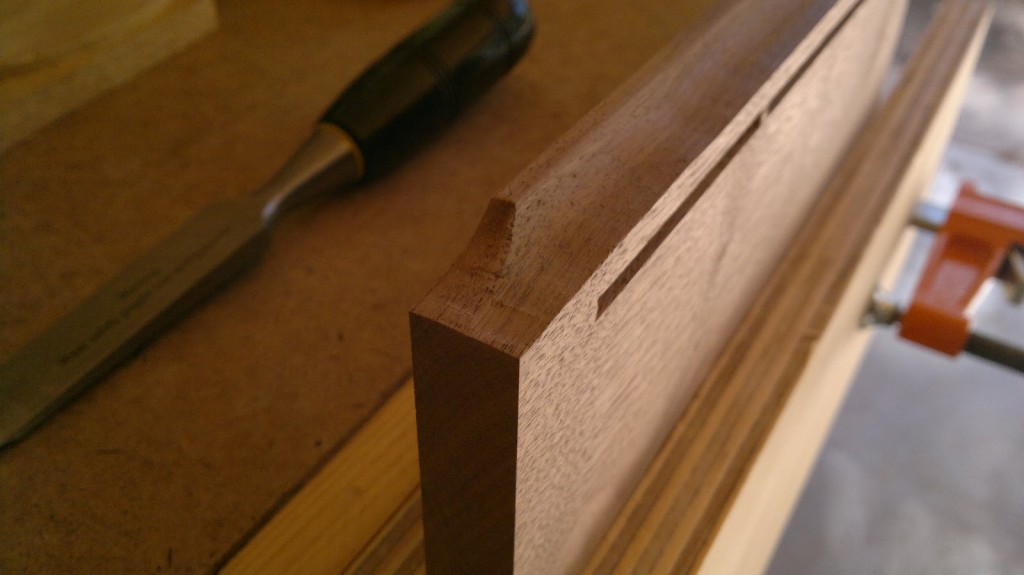
Below is succession of photos showing how the ‘penicl roll’ detail was cut
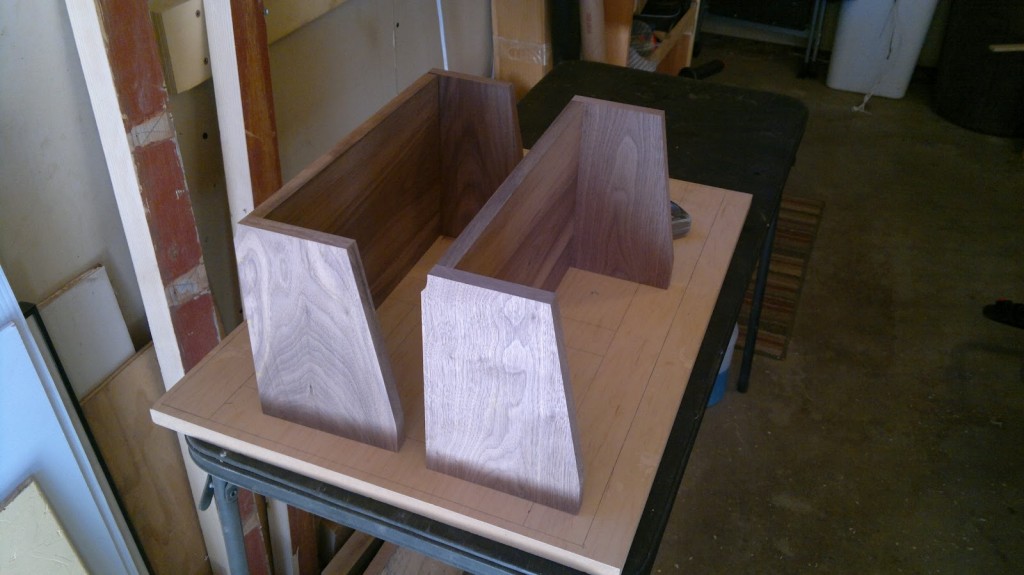
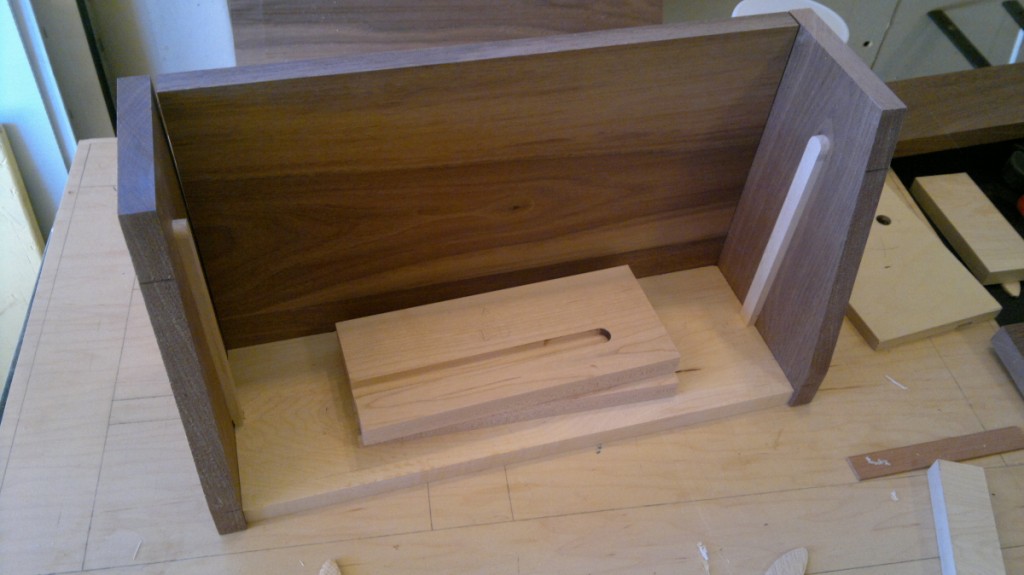
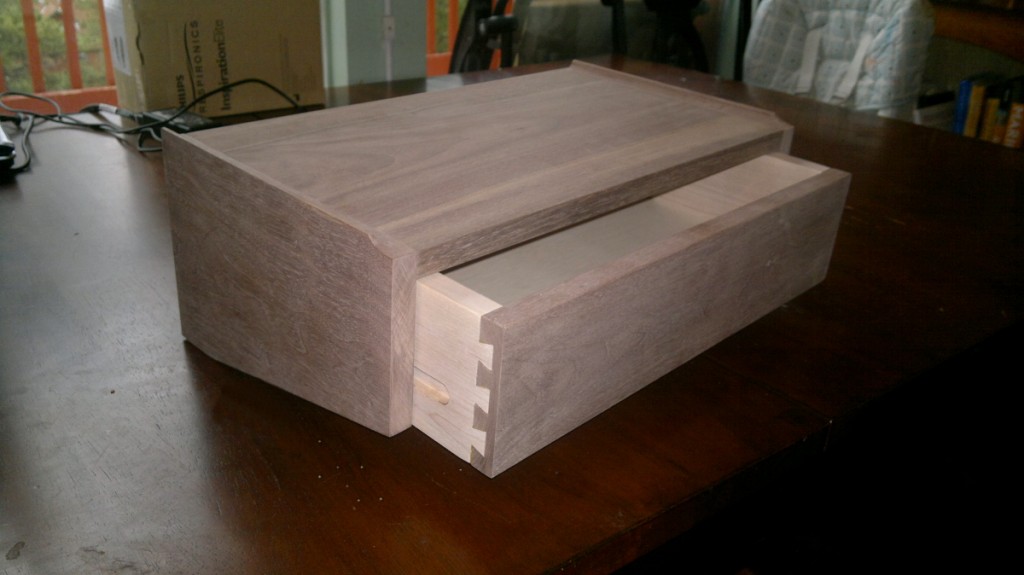
Some photos below of the case work
The drawers slide on runners which are glued into grooves in the case sides.
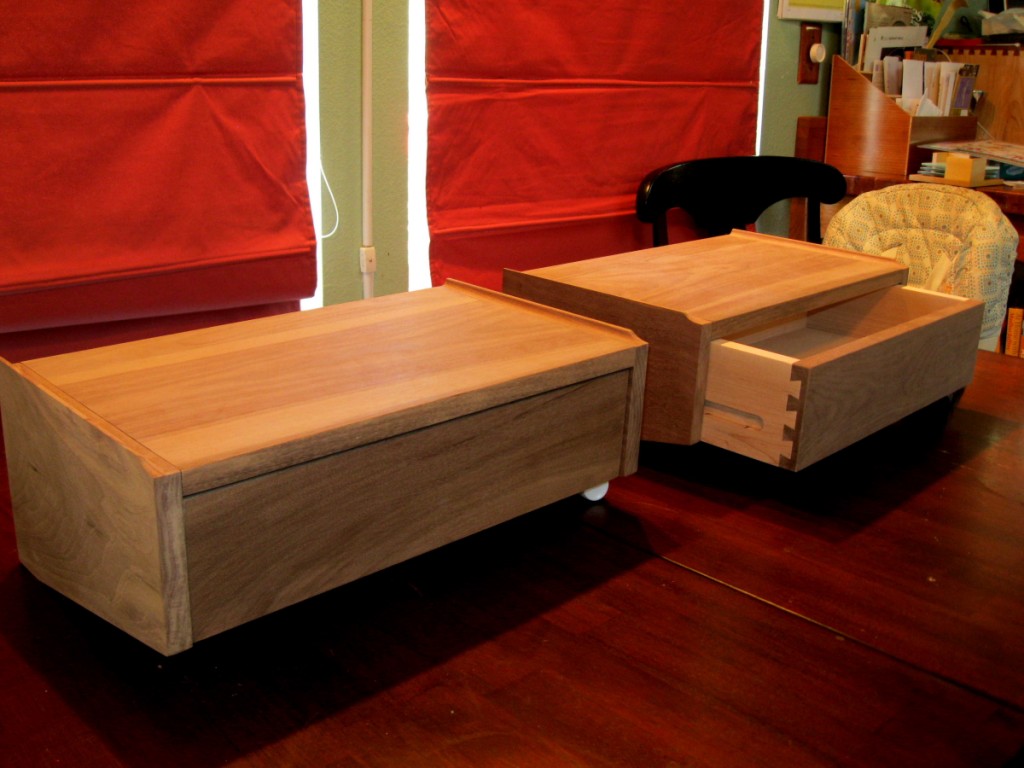
Completed Stands
Kids Play Table
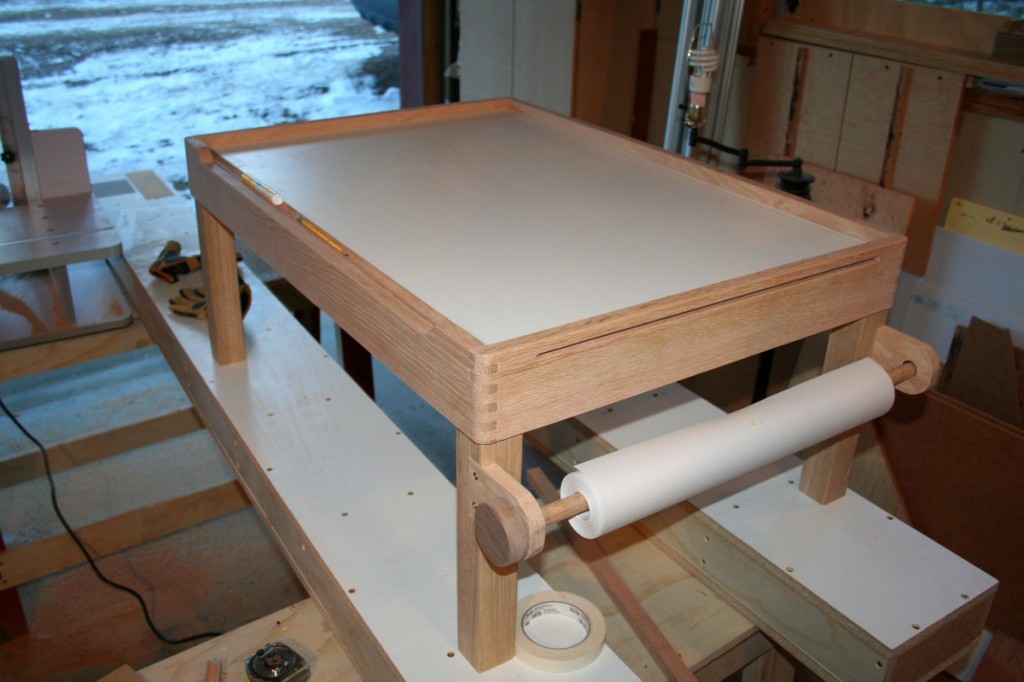
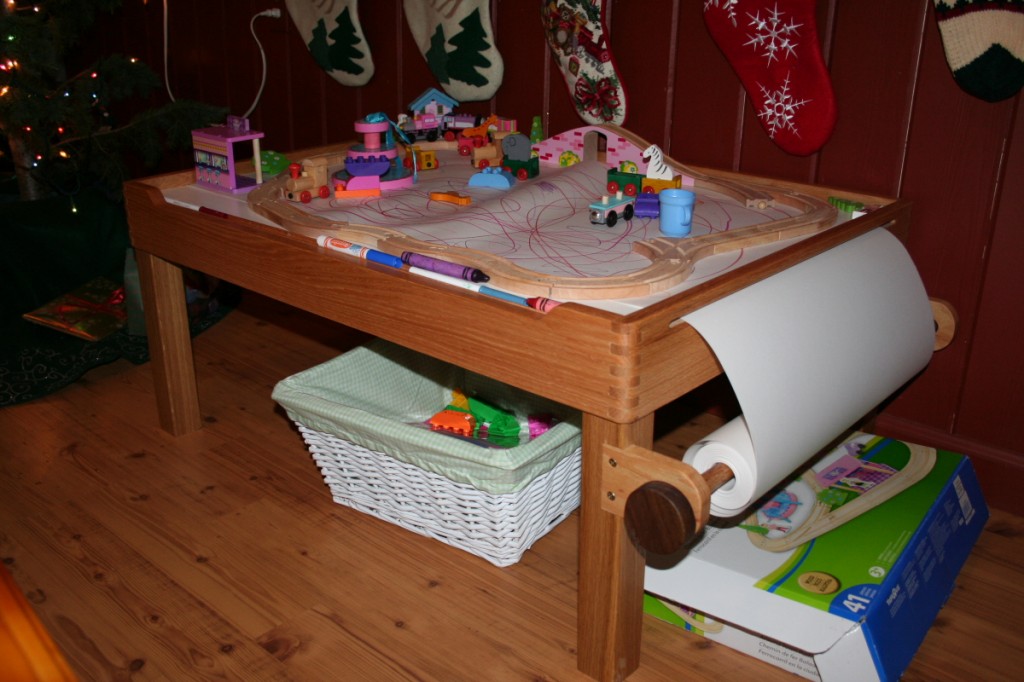
This table is designed to support train play as well as craft work (drawing, writing, etc). Most play tables out there are designed specifically for one of the other but none really for both. Train tables are set apart by the rim around the table to keep the trains and tracks on the surface, but this impedes writing at the table. Craft tables don’t have this rim and look more like a regular desk.
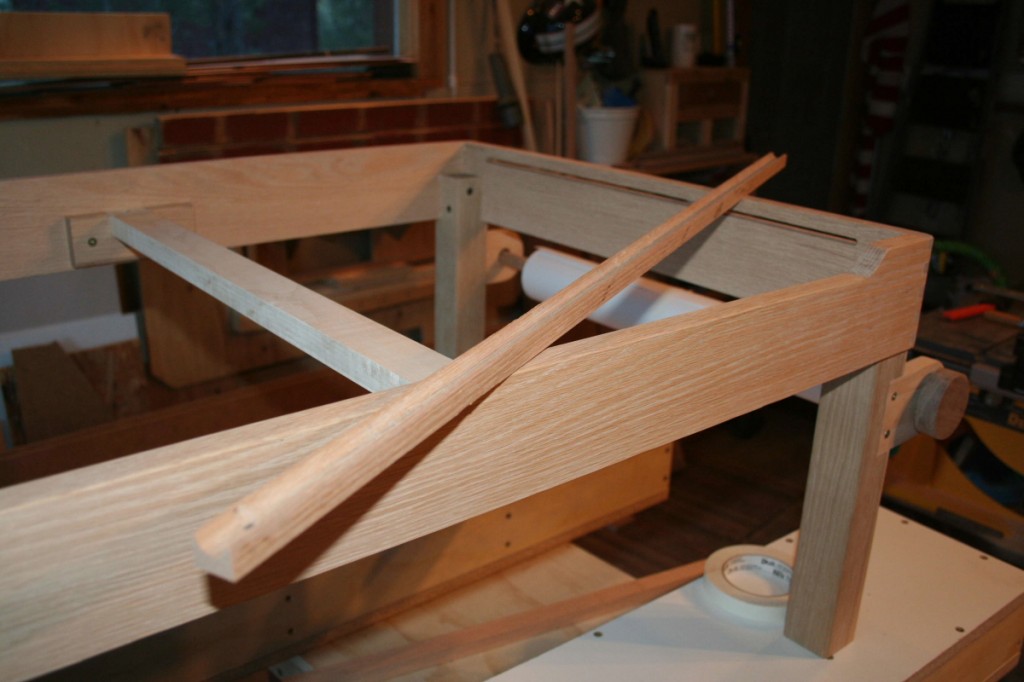
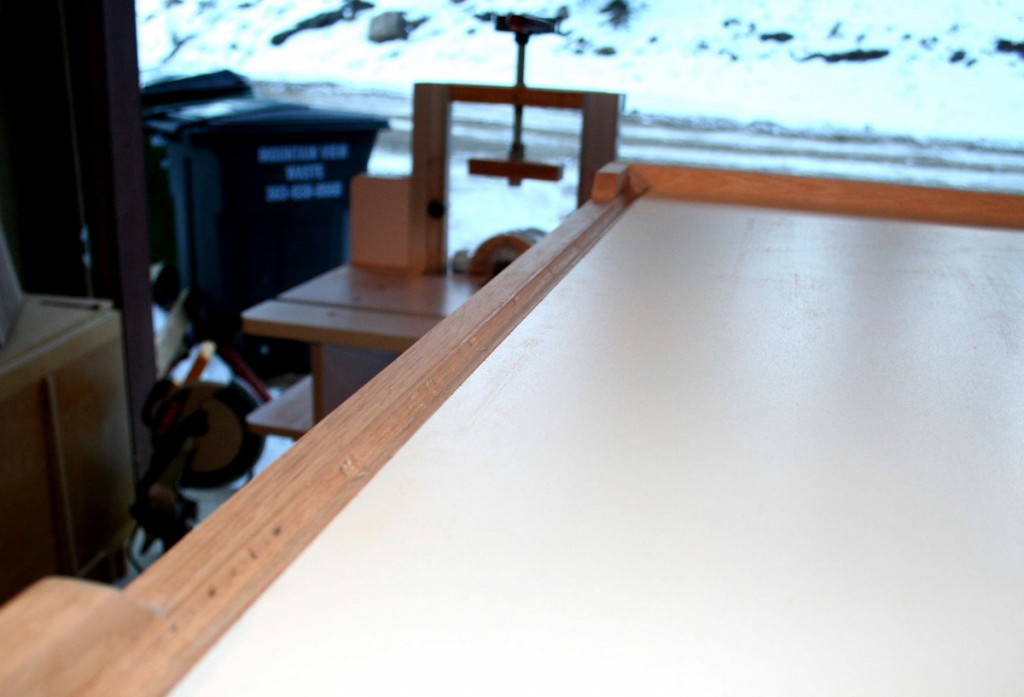
I combined both into my own design by cutting out a portion of the front rail making it flush with the table top enabling easier writing and drawing, and I cut a slot into a side rail to feed the paper through when writing. By cutting a slot you still have a rim to hold the trains and toys on the table top.
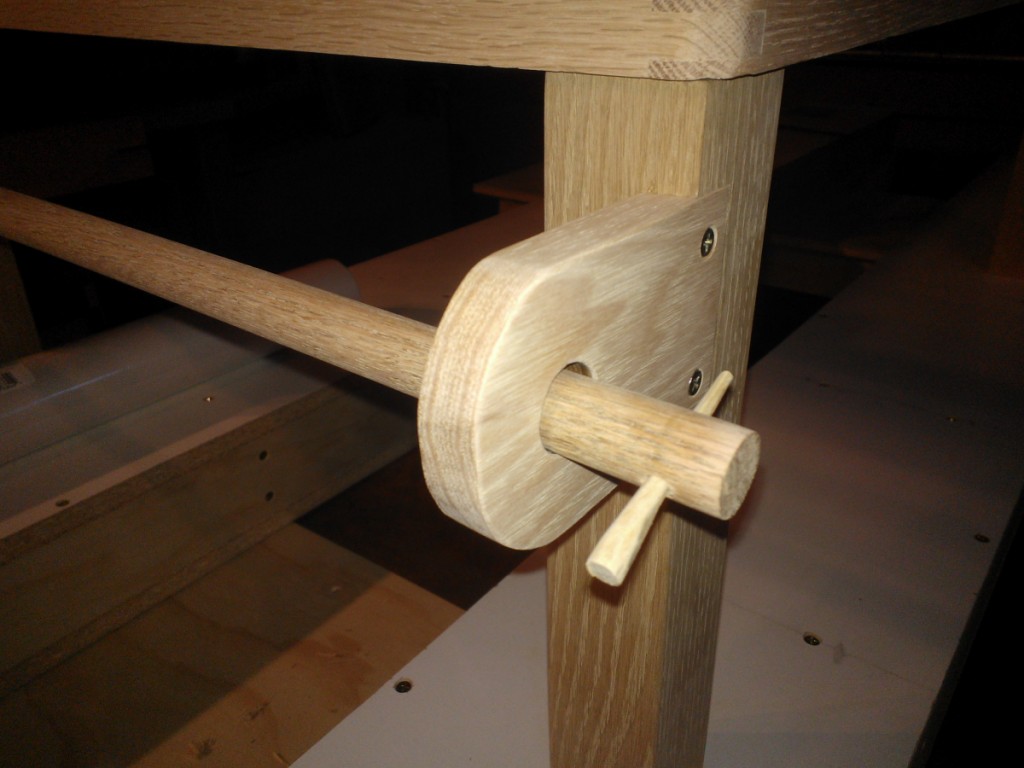
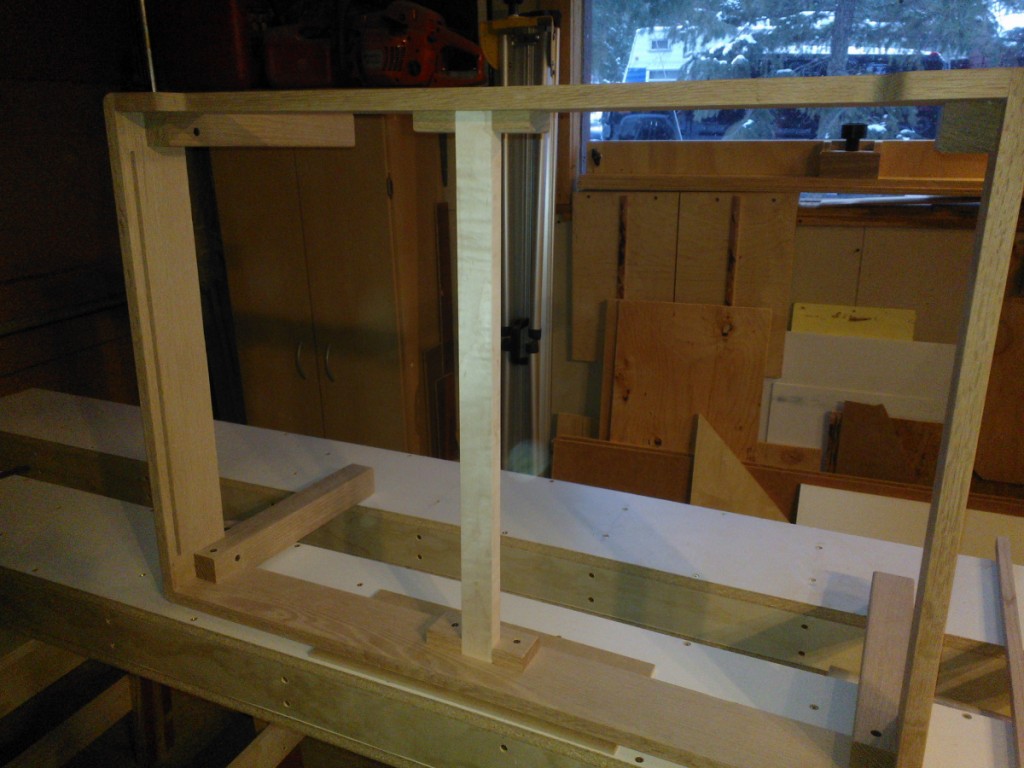
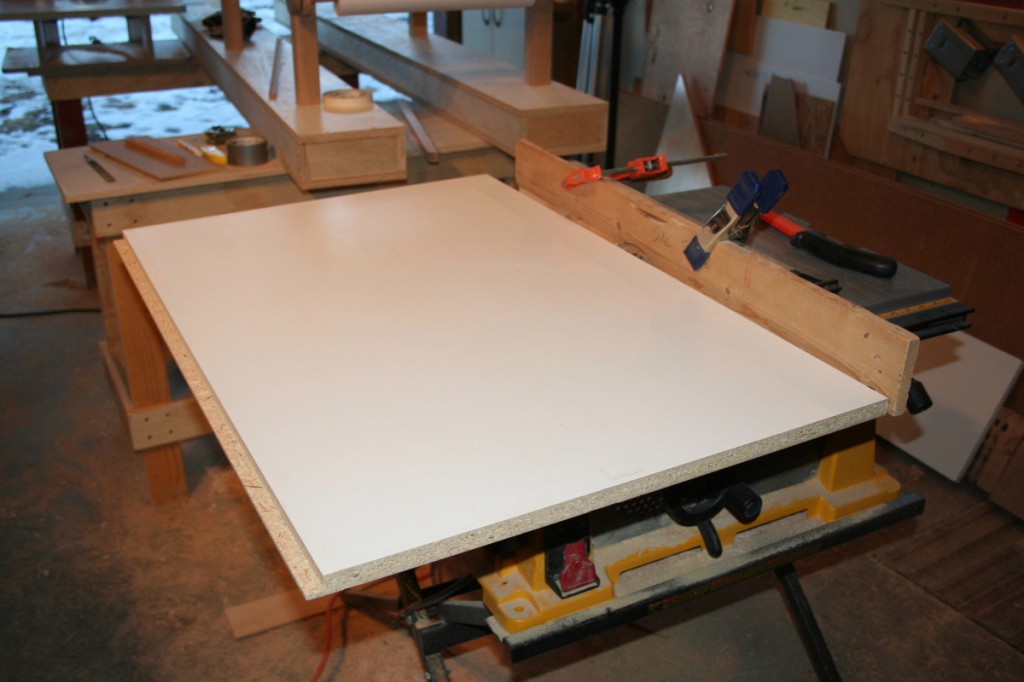
I used white oak for the legs, and red oak for the rails and dowel brackets. The table top is 3/4″ melamine. The dowel ‘wheel’ is walnut. There is a maple cross support beam under the table.
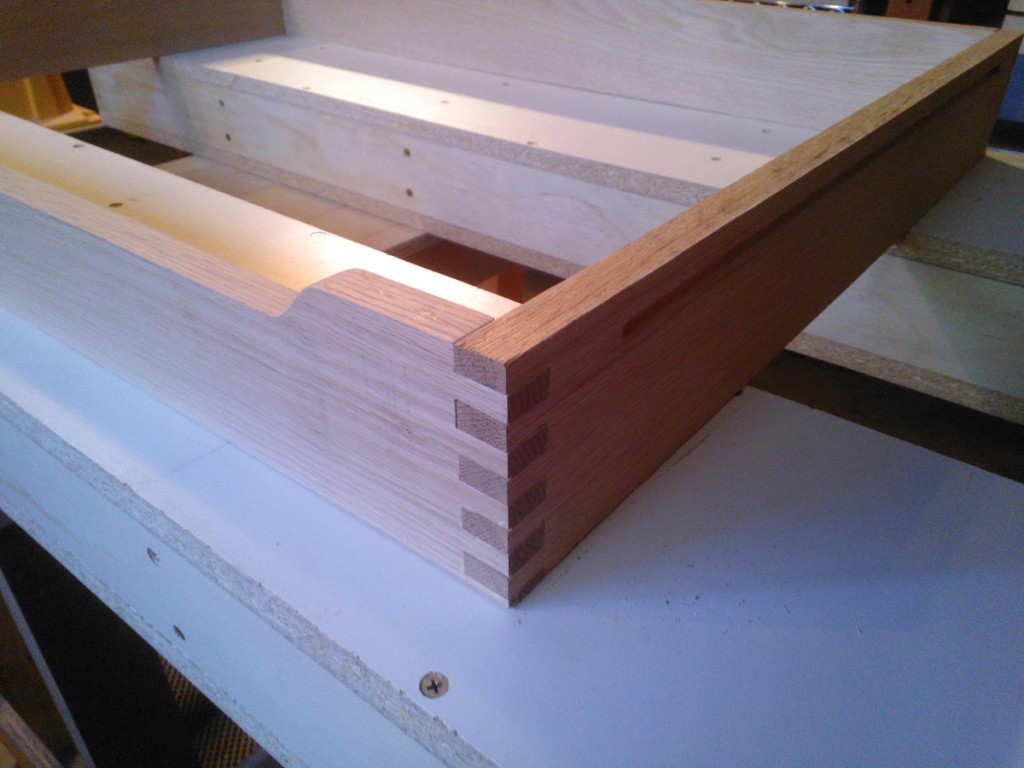
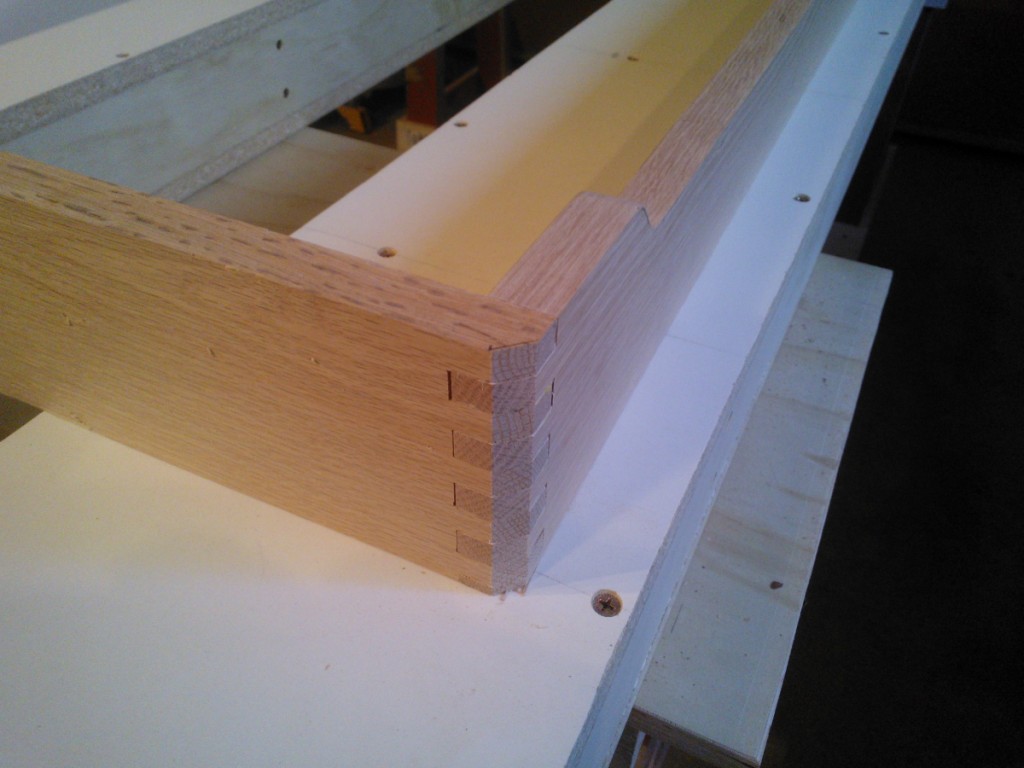
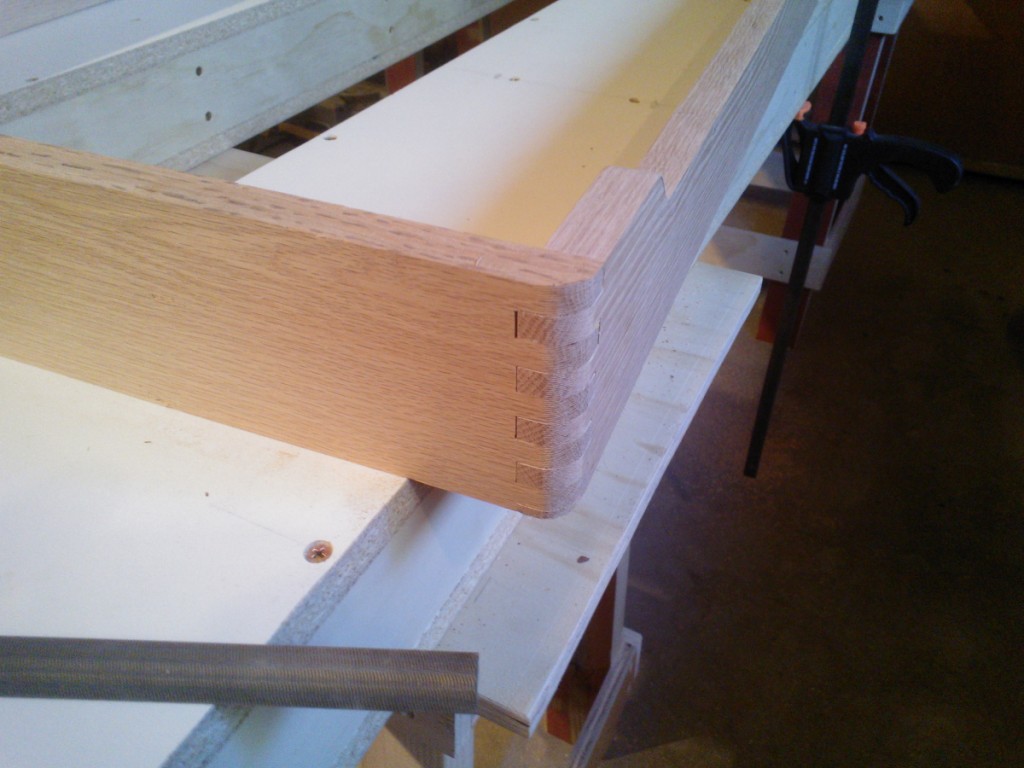
Cutting and fitting the Box Joints
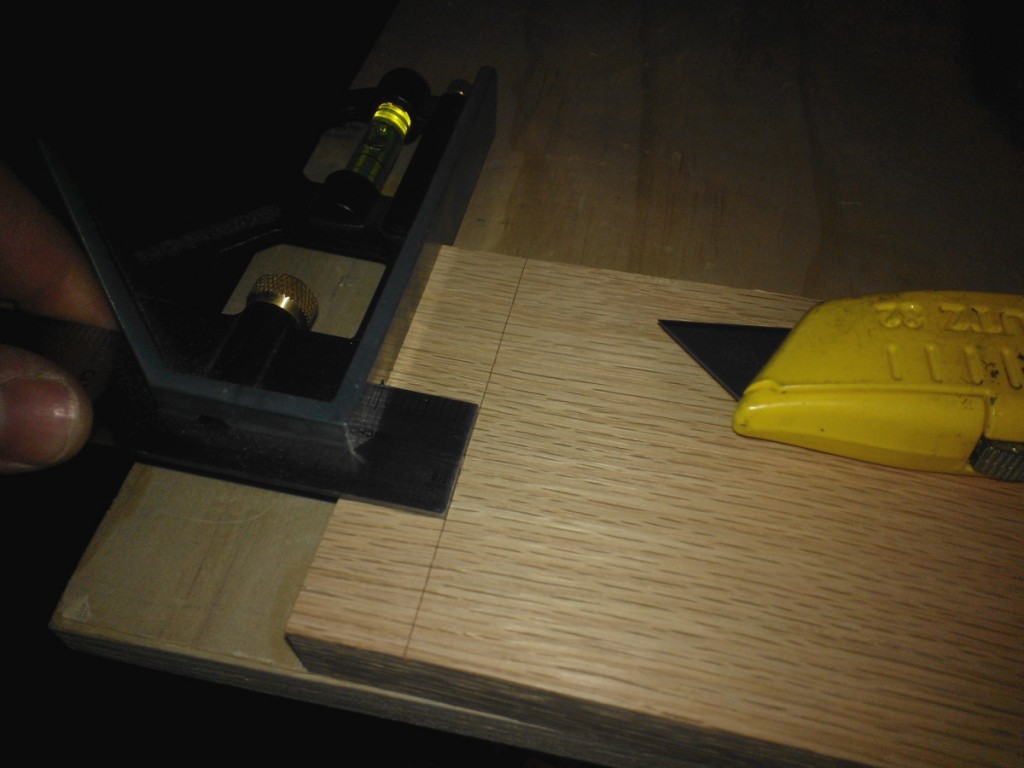
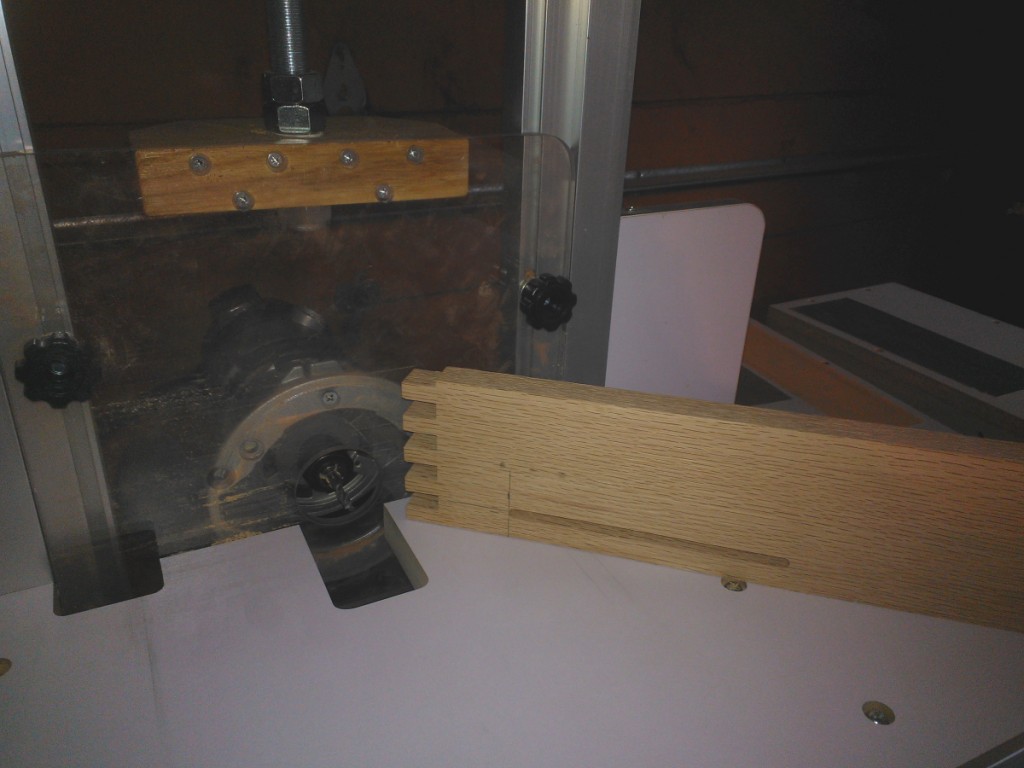
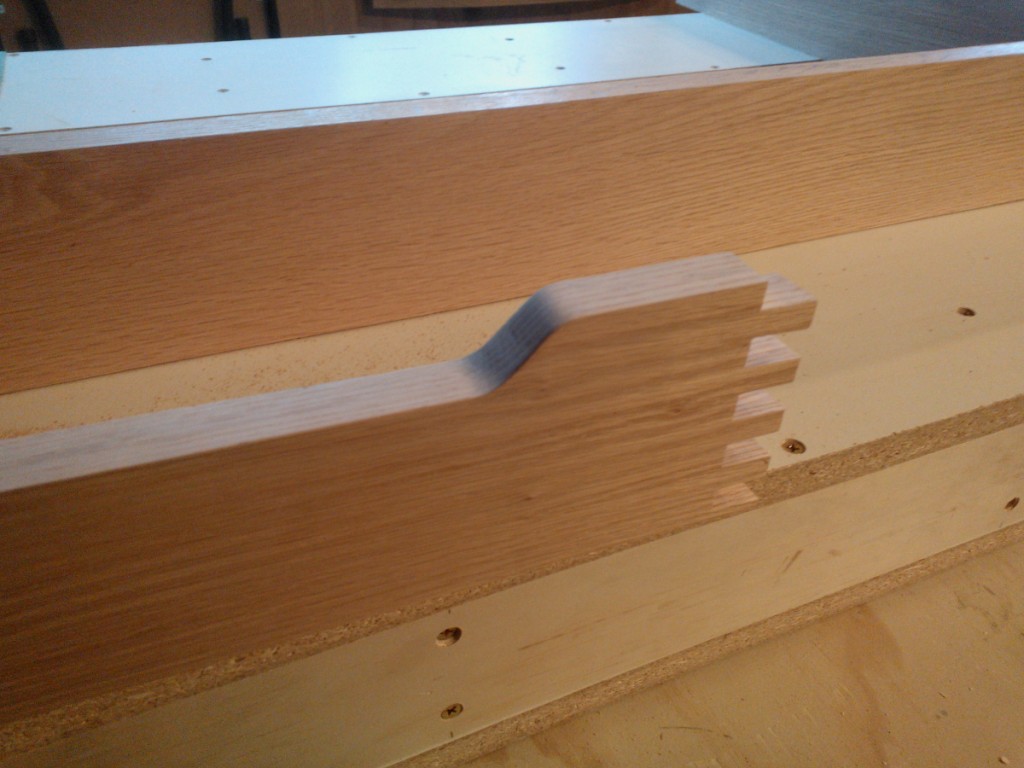
These were cut on the table saw with a simple homemade box joint jig. Combination square and knife were used to make slight marking cut which will reduce tear-out on the box joints. The chamfer was cut on the table saw, and the round over completed with file and rasp.
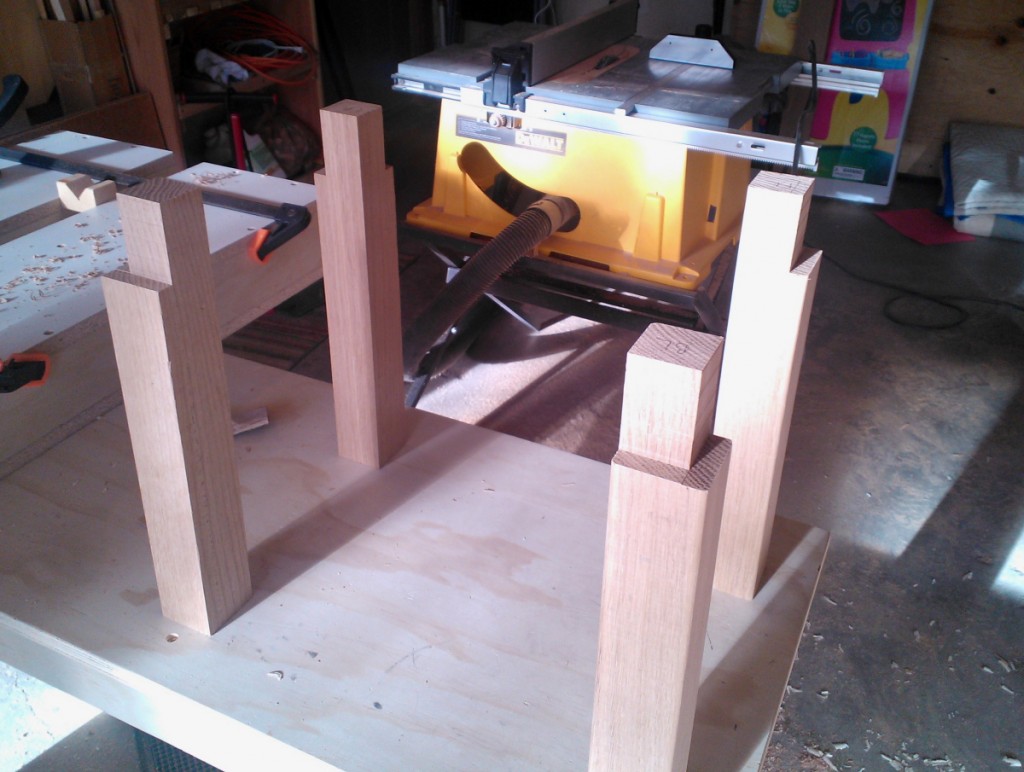
Legs
The legs were cut from 8 quarter material and planed to a final thickness of just under 2 inches. To attach them to the table top I cut a half tenon, or half lap, which the table top rails will rest on. The top portion of the tenon will act as a support for the tabletop. The half laps were cut on the table saw with a dado blade. The edges were eased with a hand plane.
Rail Cutouts
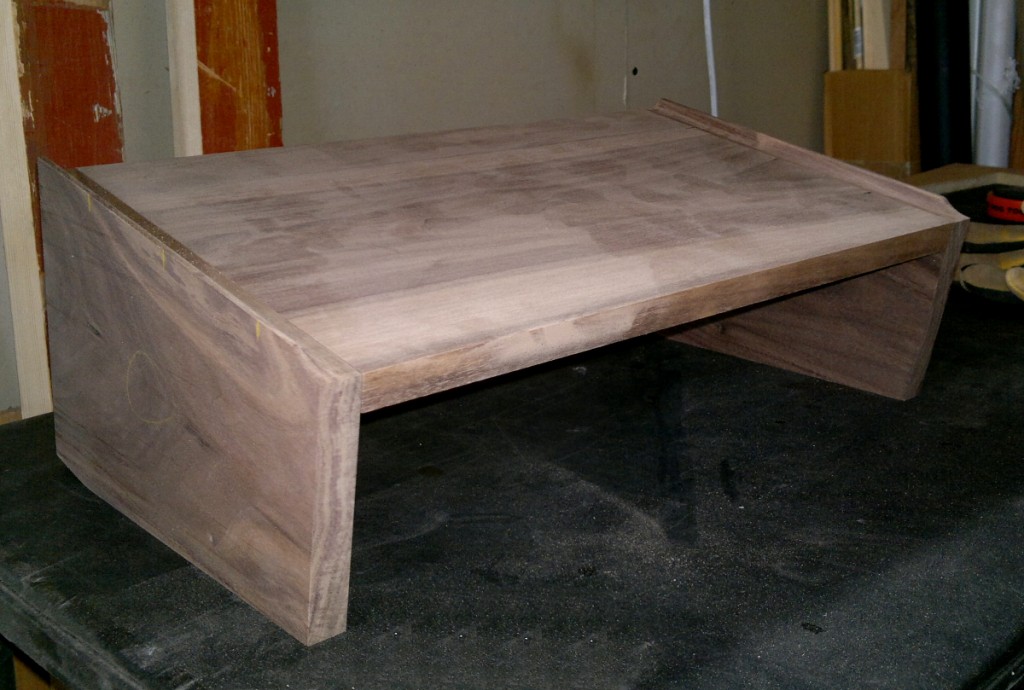
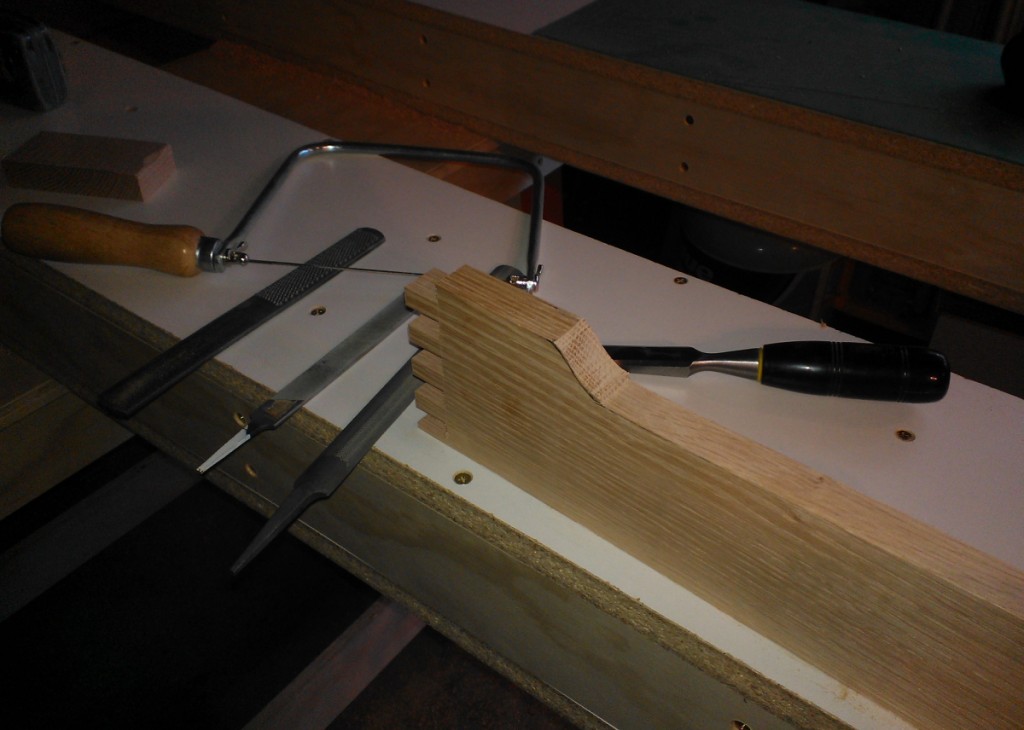
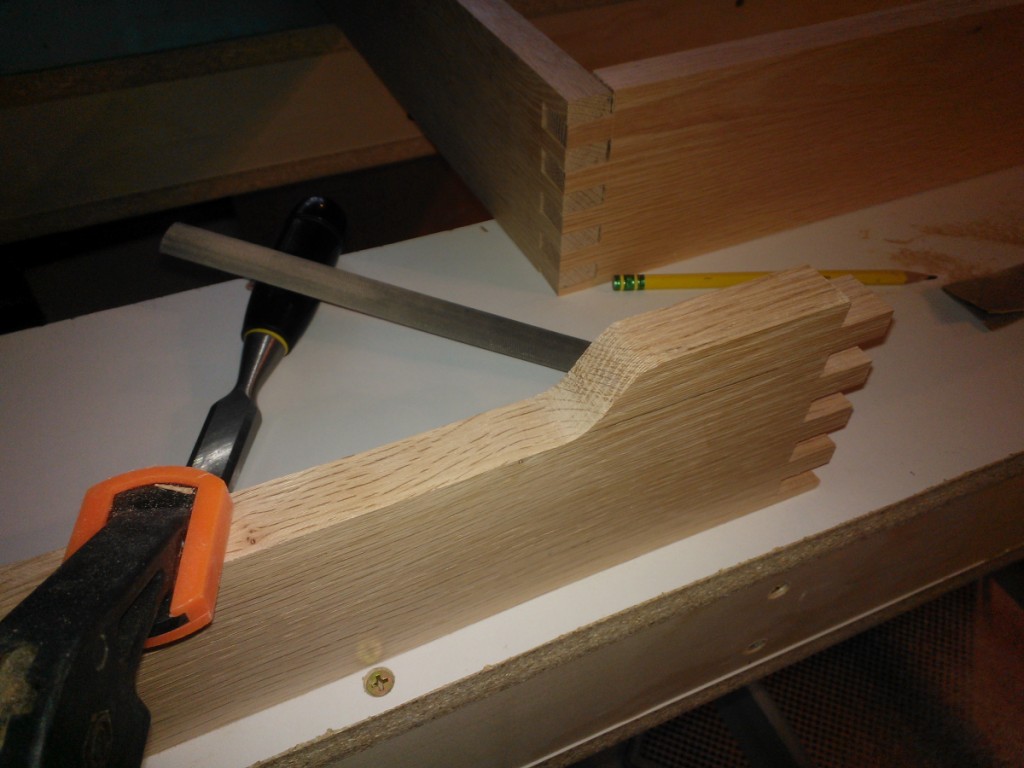
The table top rails have some features that allow the table to act as a train table and a drawing table. The paper slot was cut with a straight bit on the router table. The rail cutout was first done on the table saw with a dado blade, then by hand to get the sloping angles on each end.
Dowel Brackets
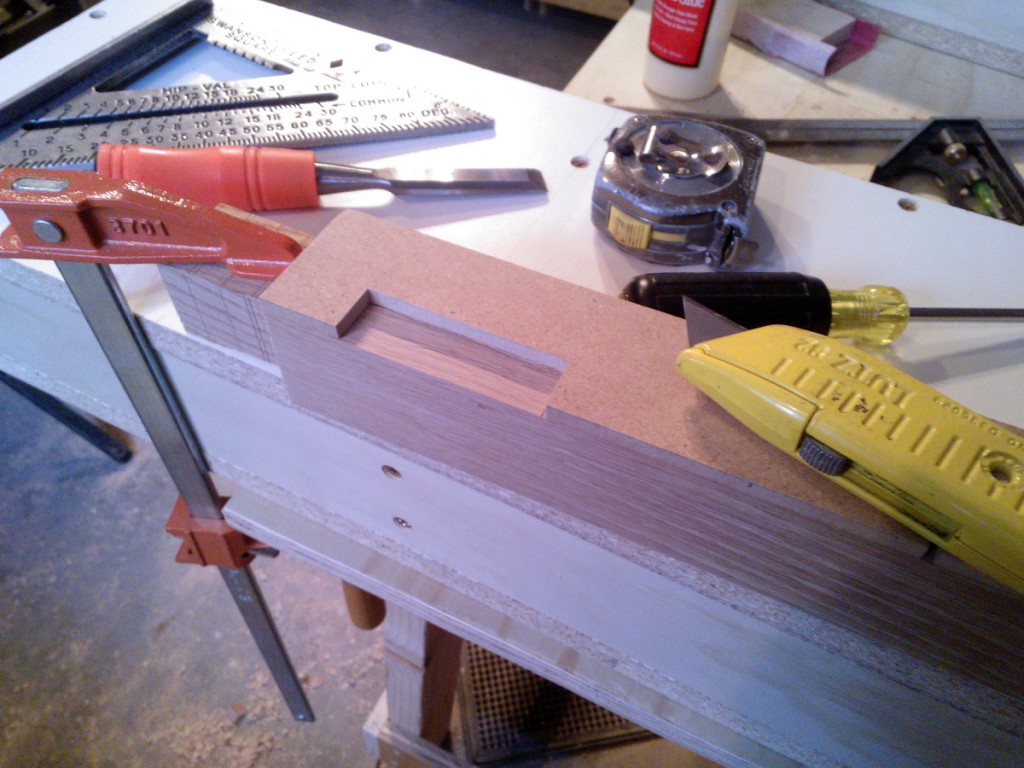
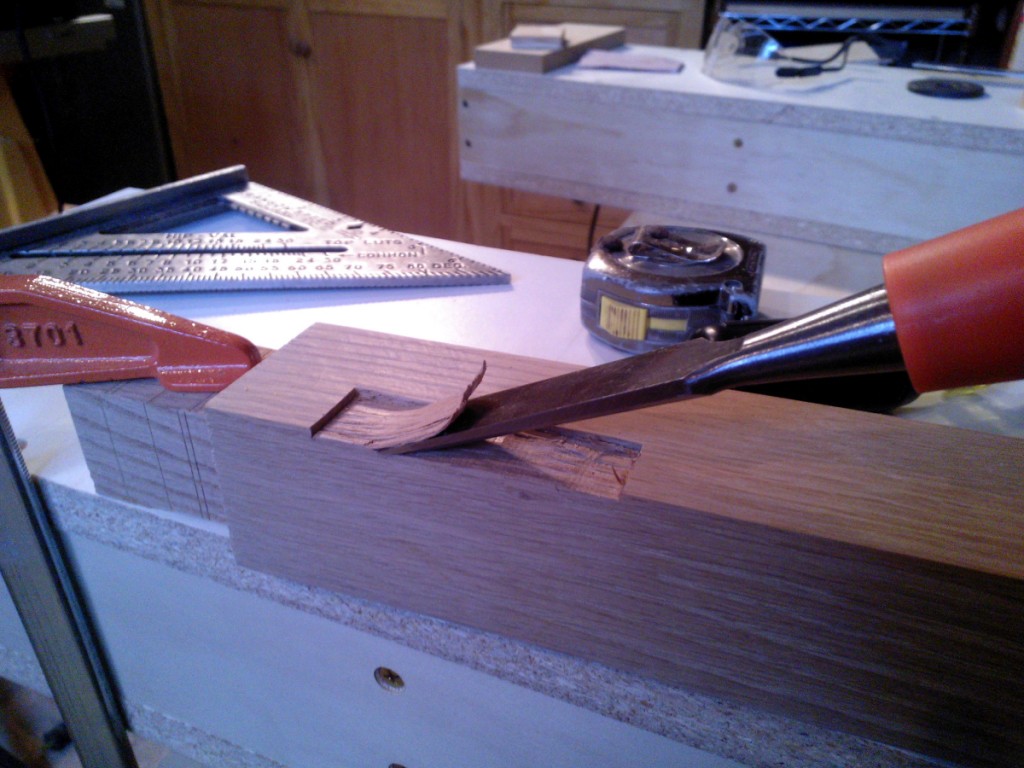
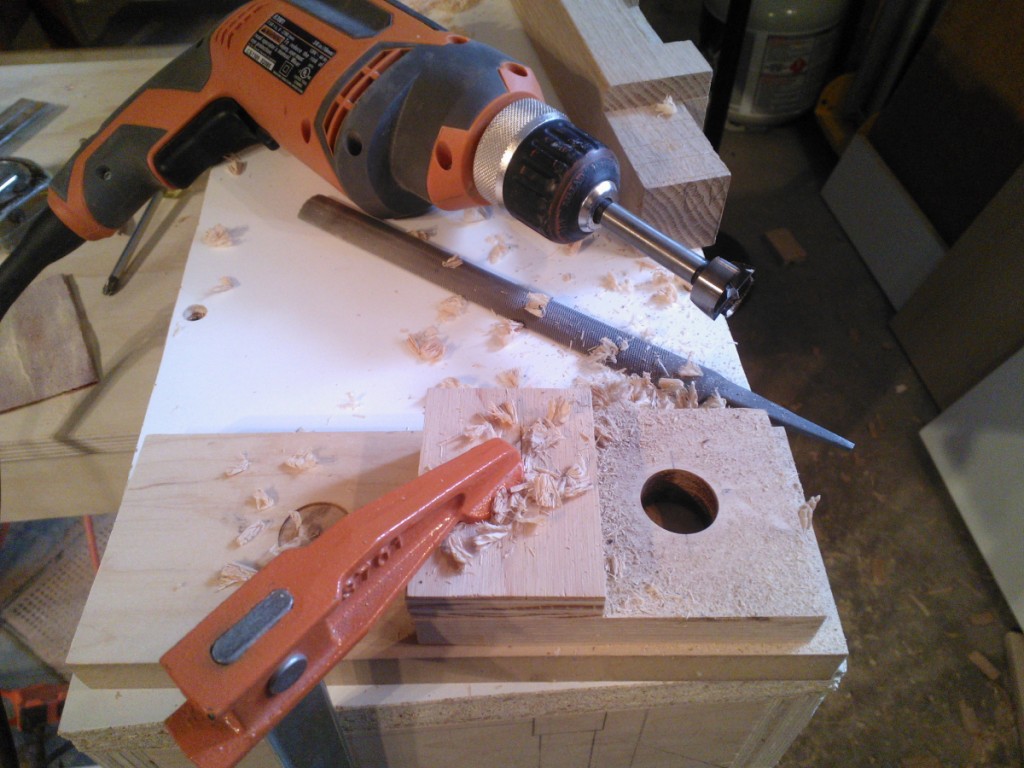
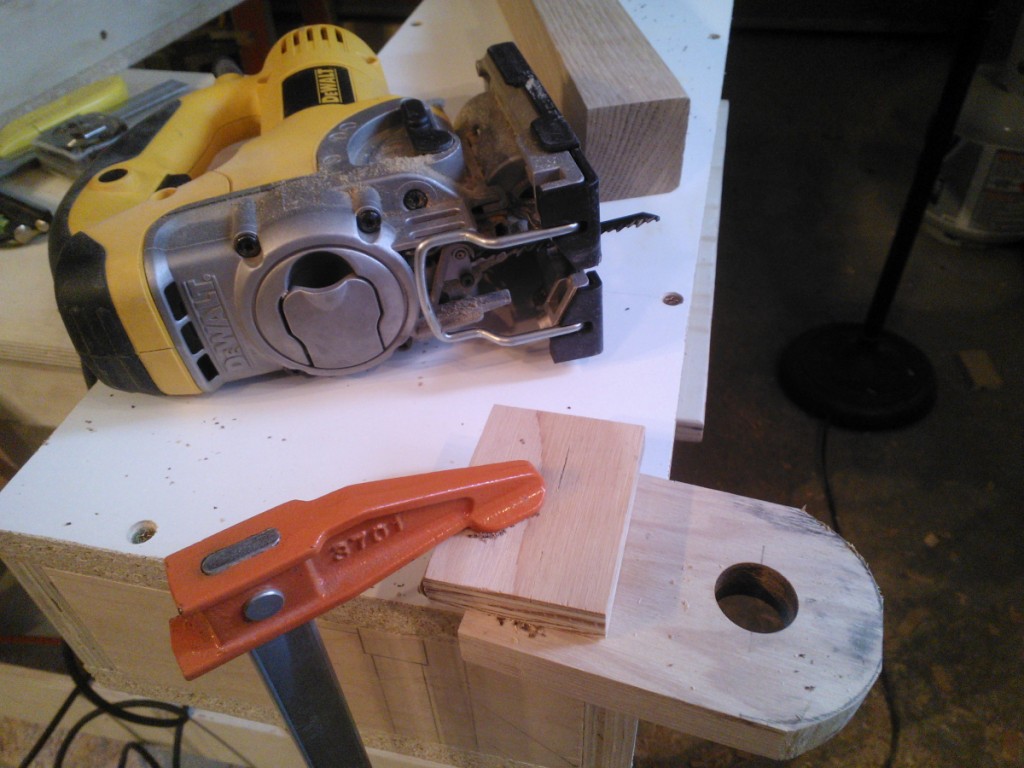
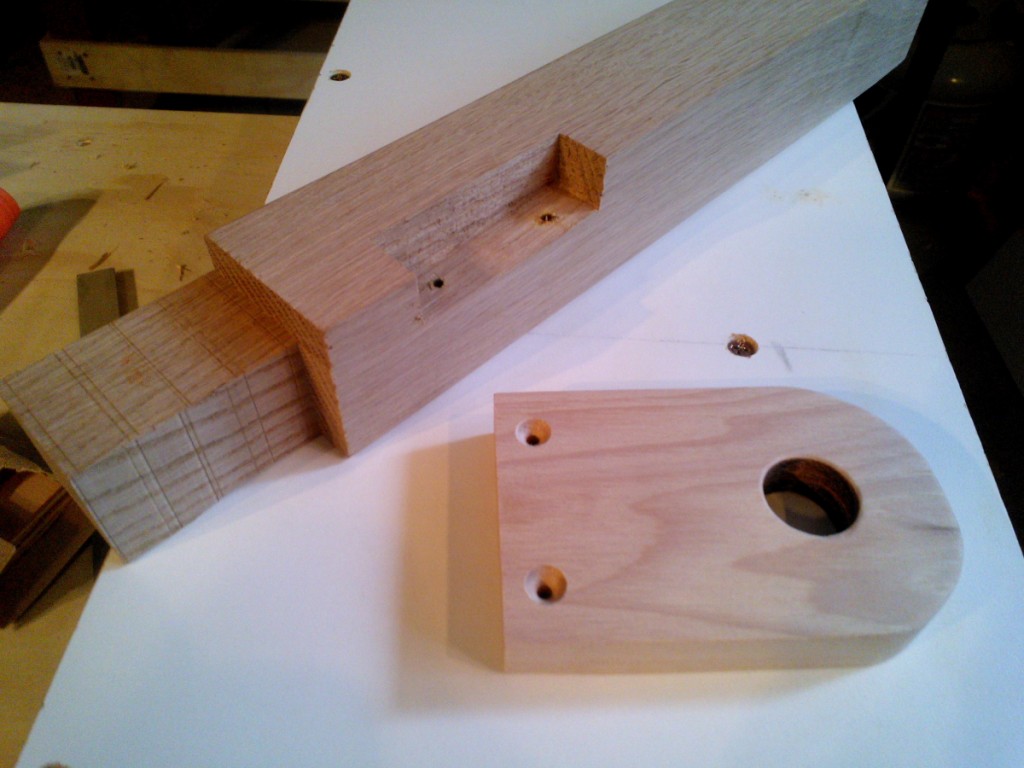
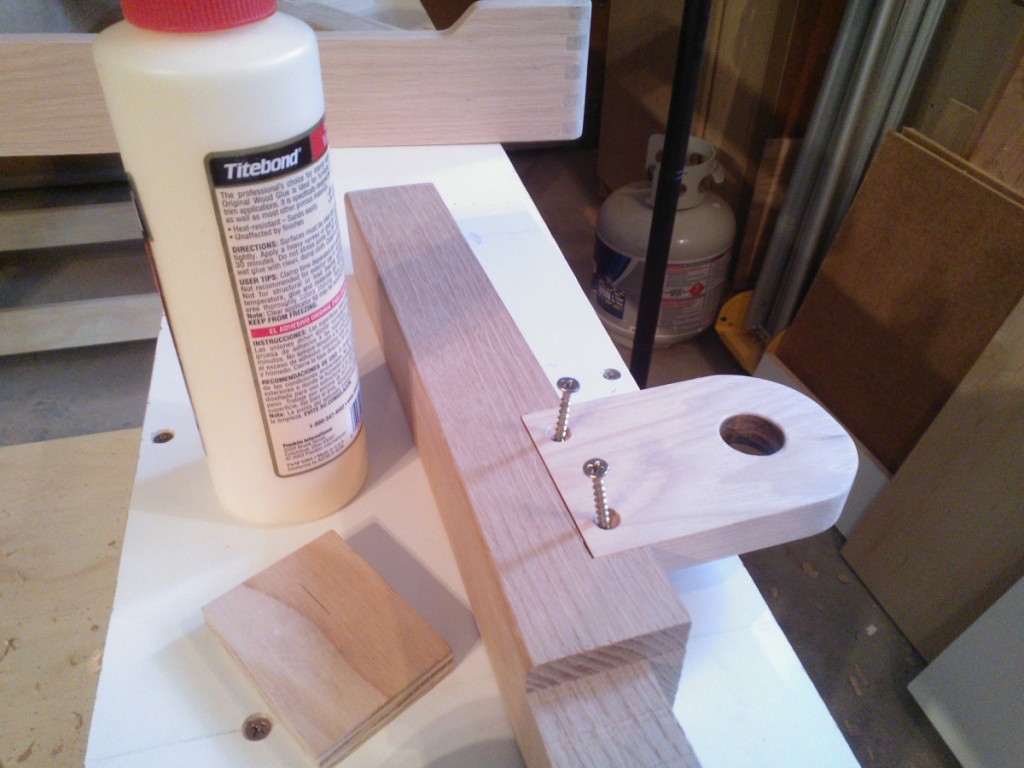
The paper roll is housed in a dowel supported by brackets that are mortised into the legs. I first used a hardwood template, then chiseled out the mortise by hand. I probably could have used a router here to save time. The bracket is then cut to shape using a jigsaw, and a forstner bit to cut the through hole. It is assembled with glue and screws.
Cross beam construction
There is a maple rail set into notches in oak brackets underneath the tabletop.
Pen Holder
There is a small channel (cut with cove bit on the router table) to hold pens and pencils that I cut into a 1/2″ piece of oak. This piece is set into a rabbet on the front edge of the melamine table and comes flush with the table top.
Completed Table below
