Ride Details
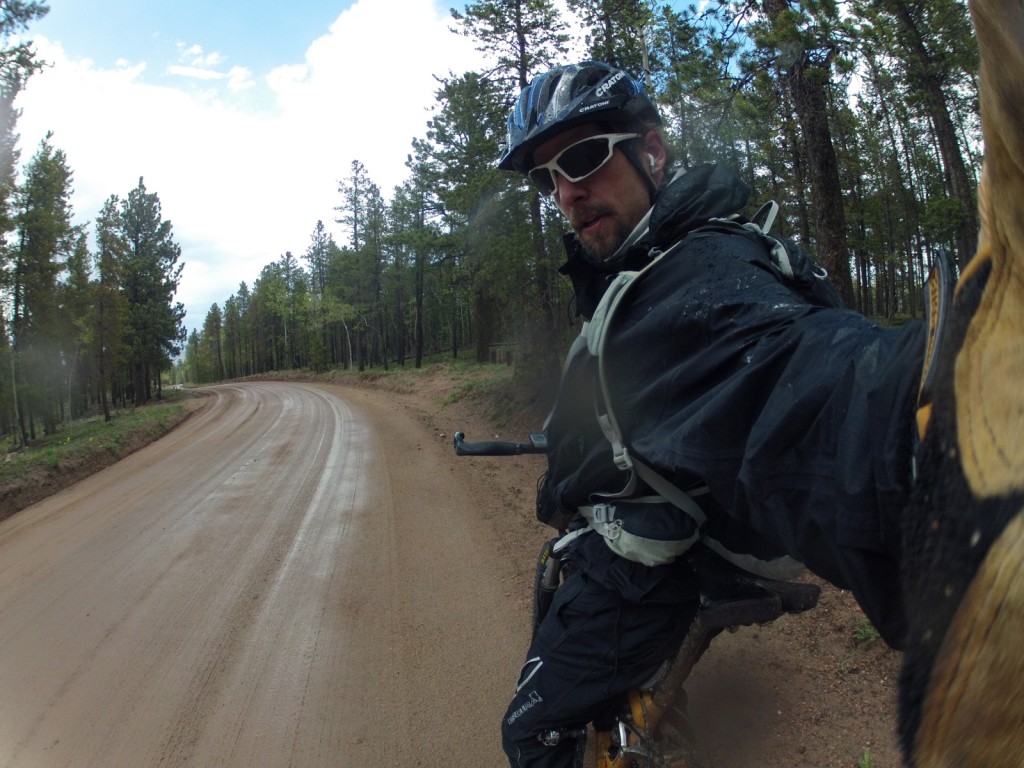
75 Miles (23 trail miles, 47 dirt roads, 5 miles paved roads)
12,200′ climbing elevation
9 hours (7:30 ride time)
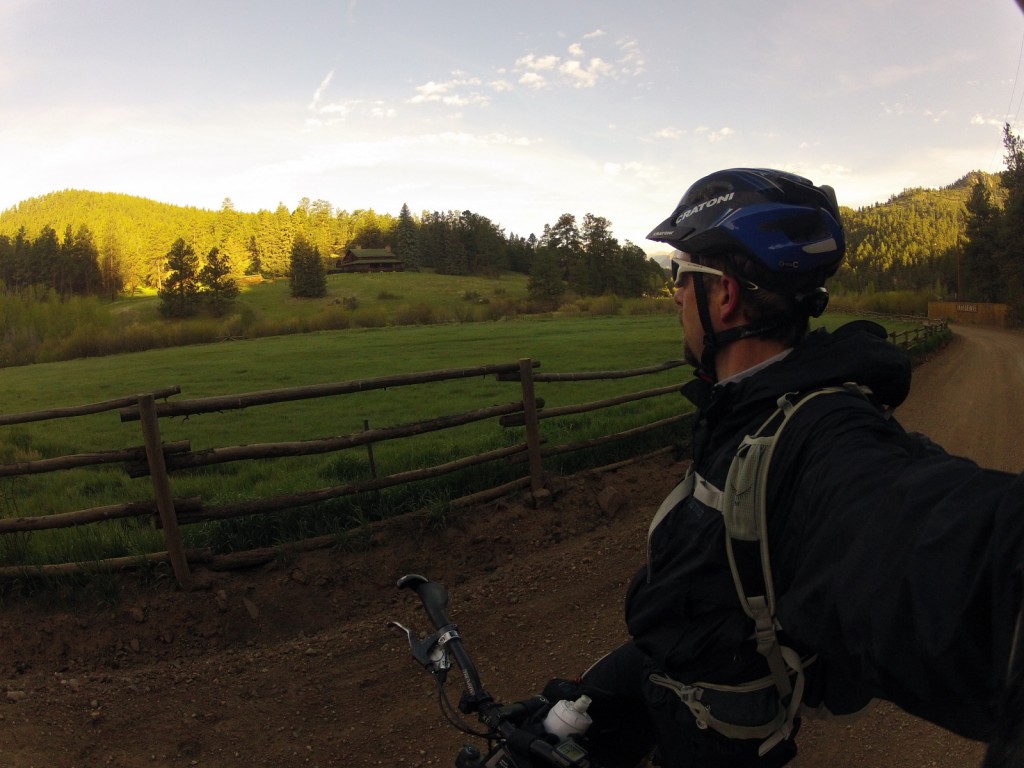
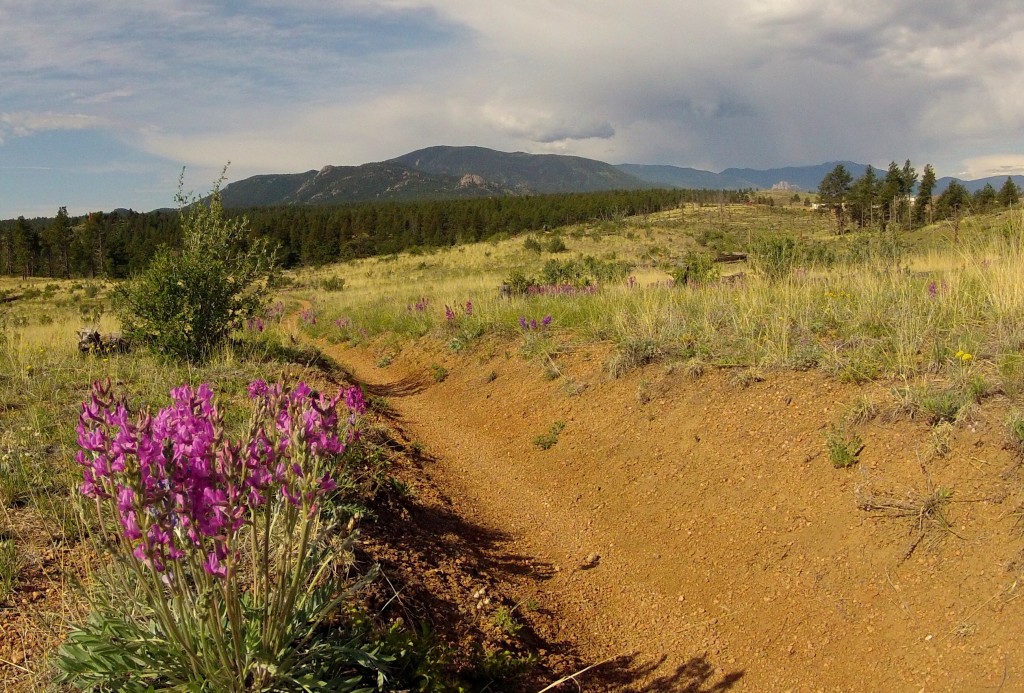
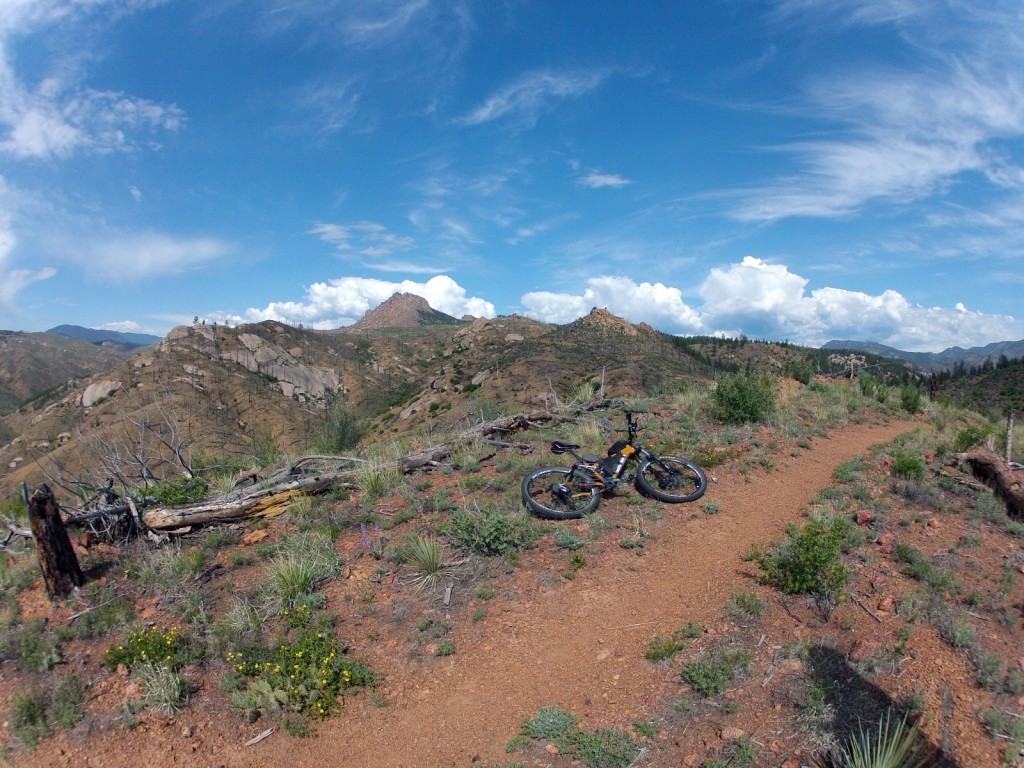
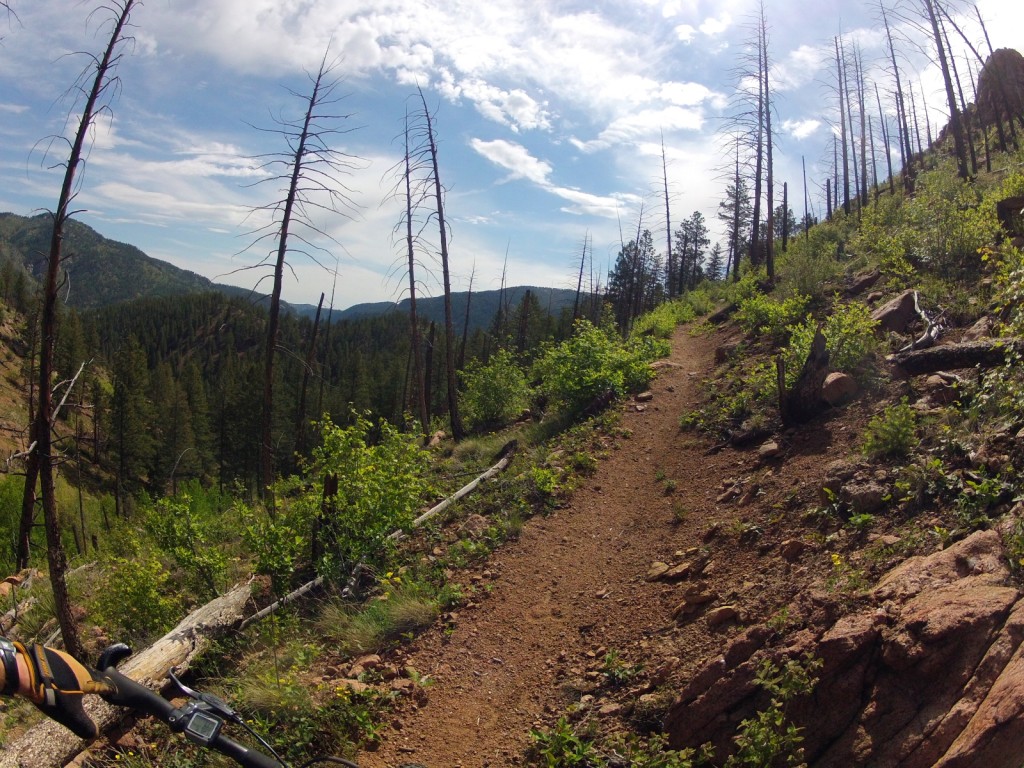
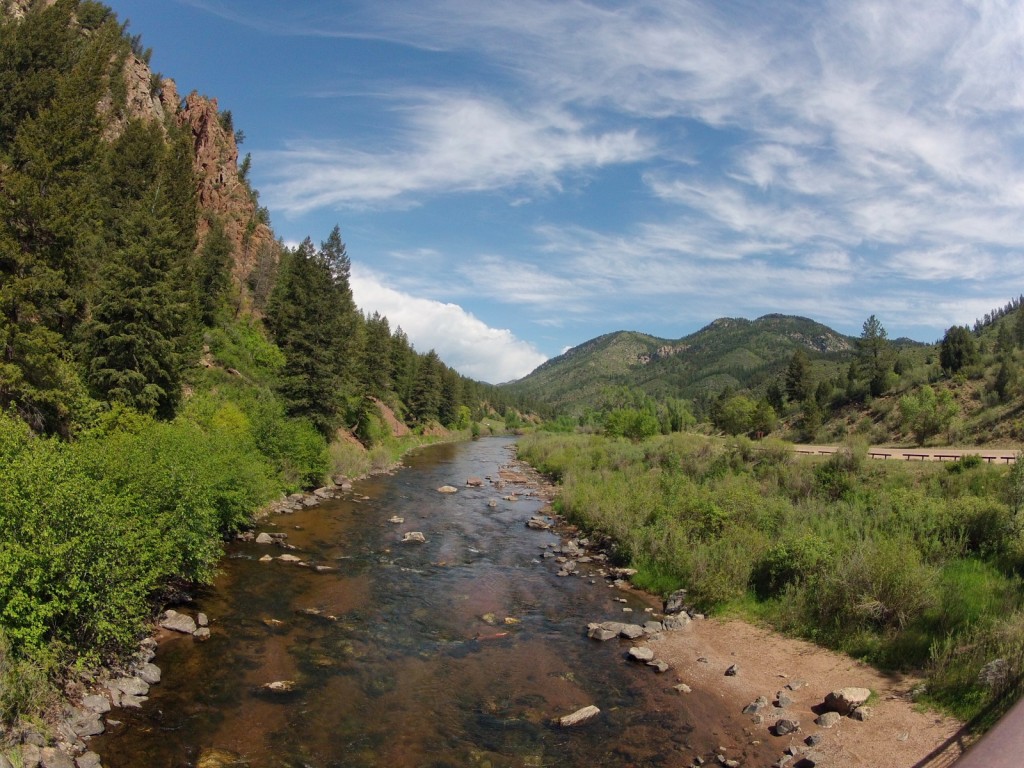
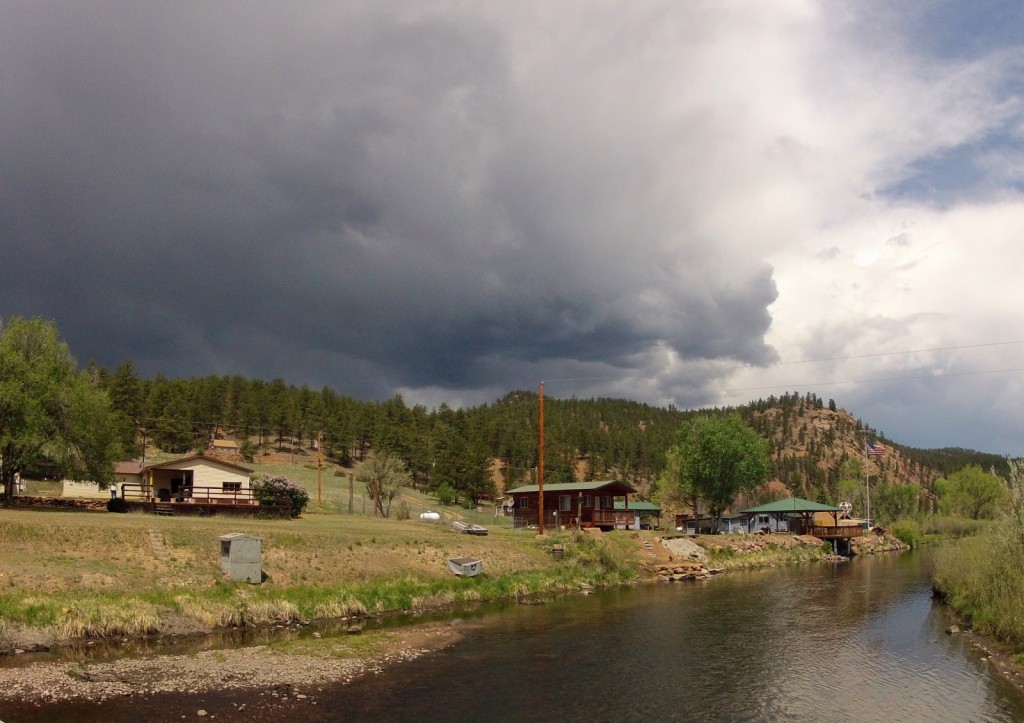
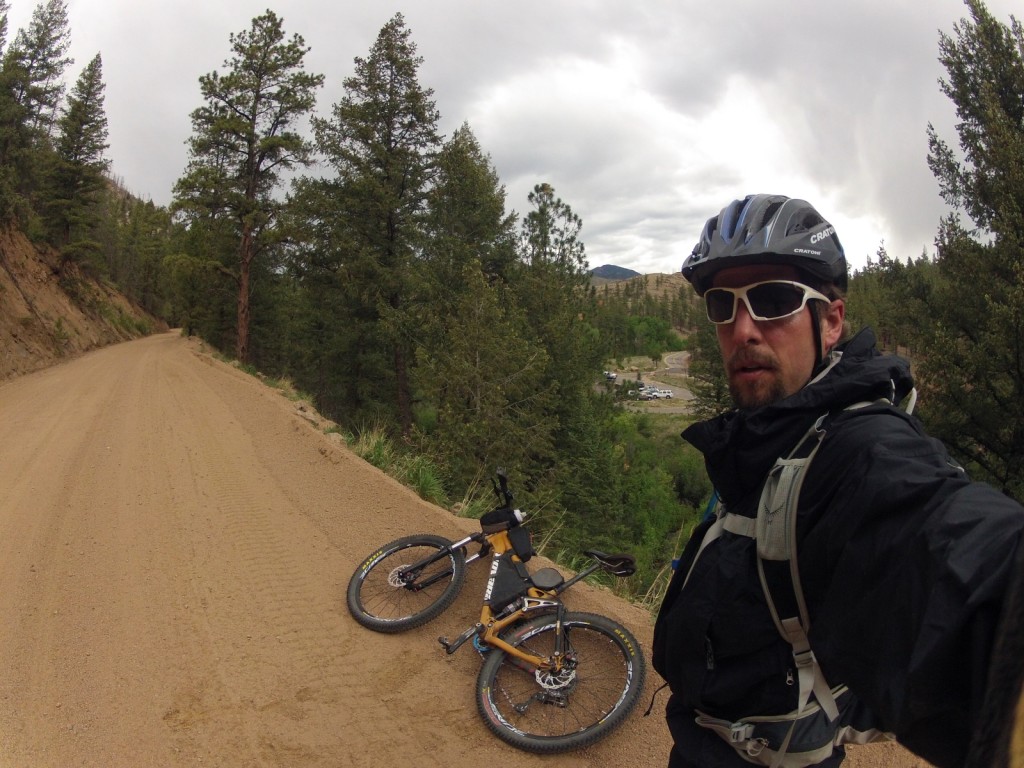
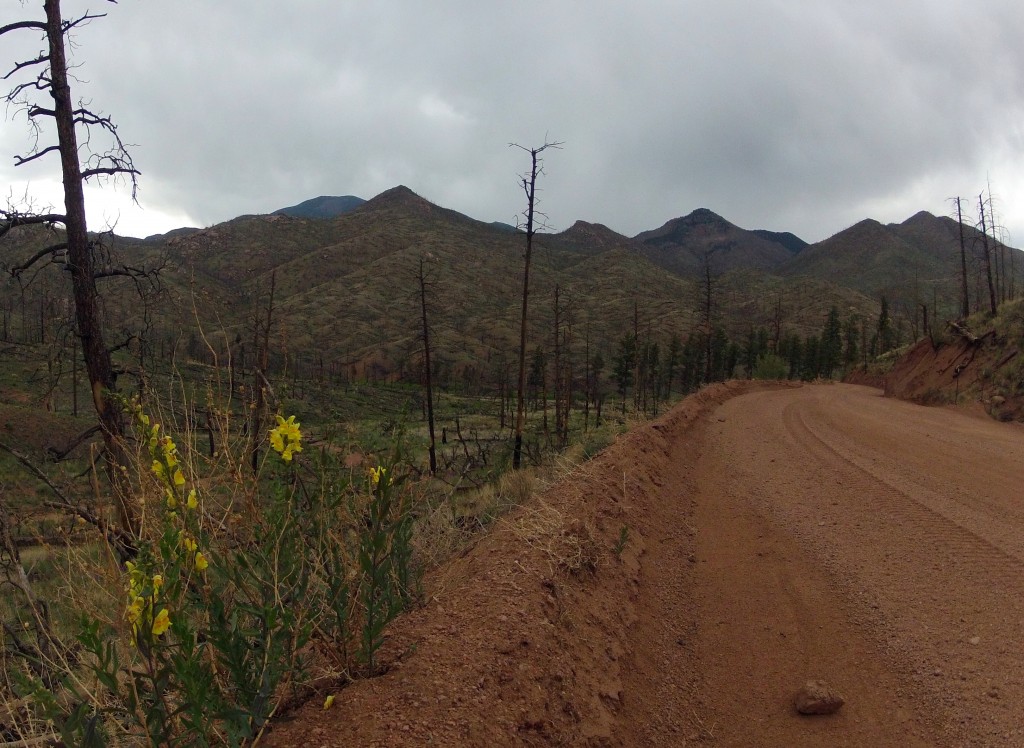
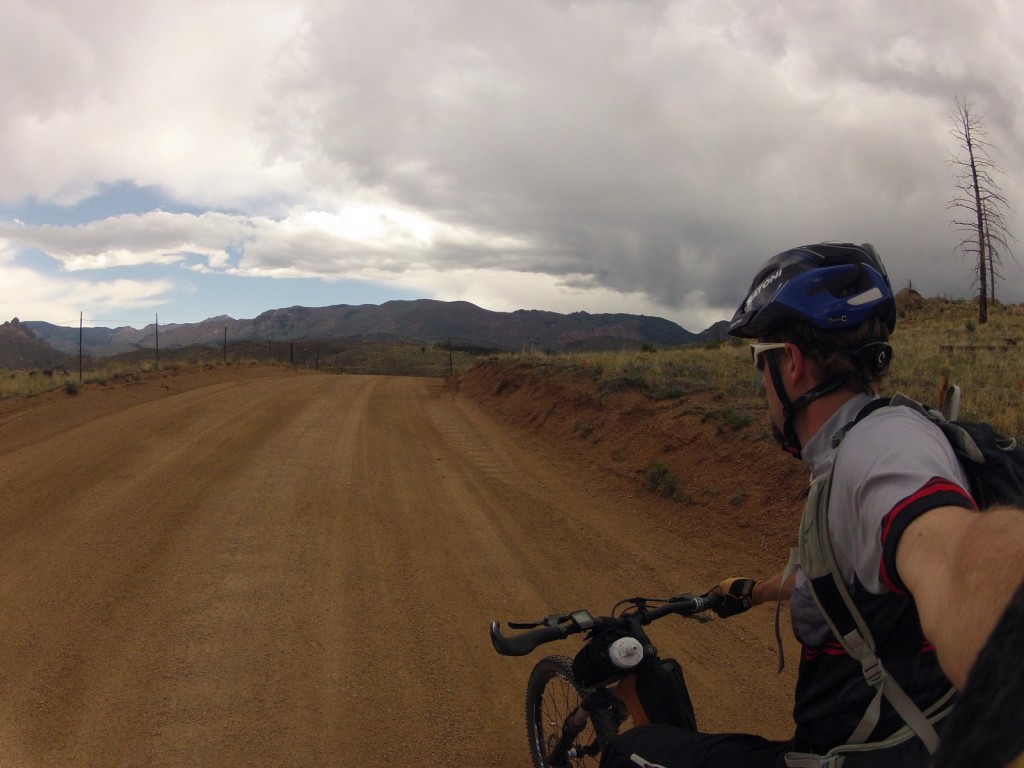
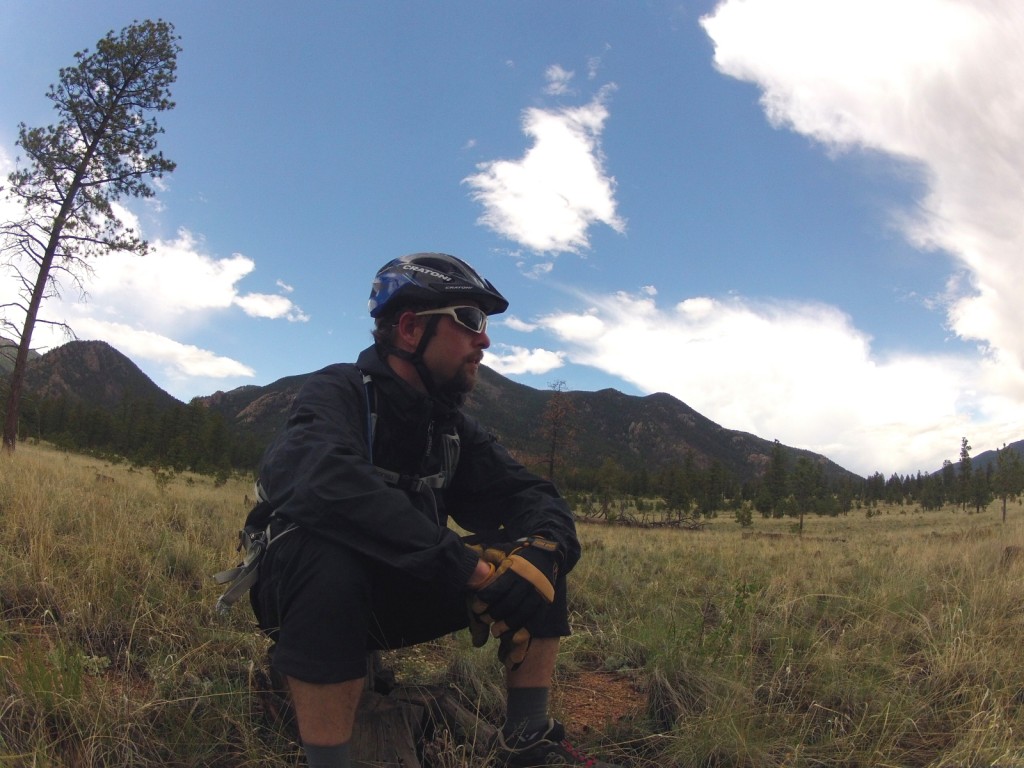
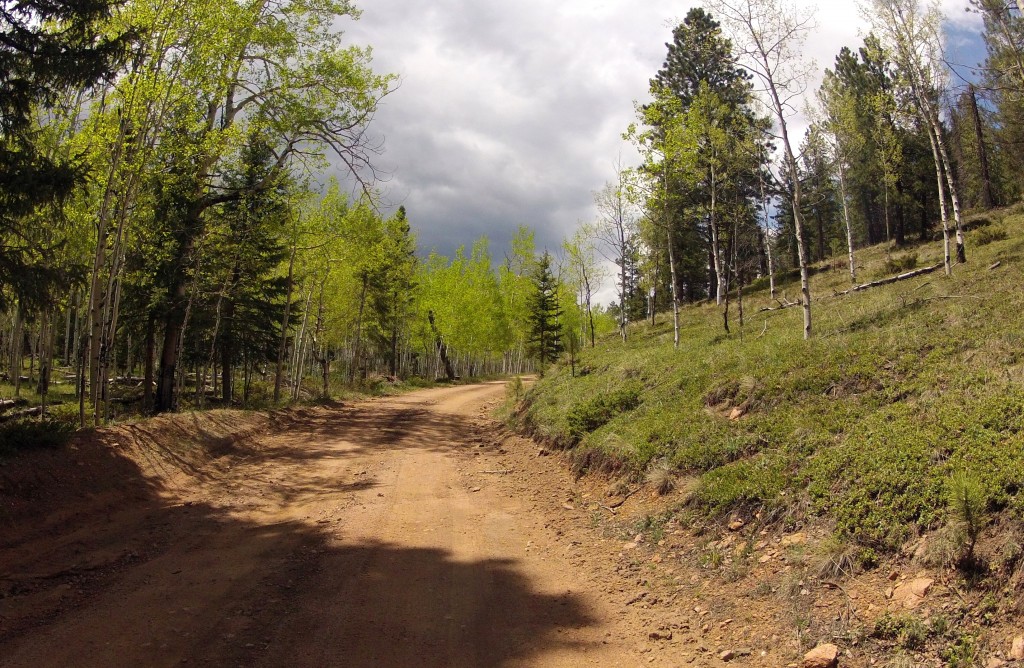
75 Miles (23 trail miles, 47 dirt roads, 5 miles paved roads)
12,200′ climbing elevation
9 hours (7:30 ride time)


Here is the gear list for the Trail Race attempt this year. See this post for the changes from last year.
I’ll be starting on August 3rd at 8am heading southbound doing an ITT, individual time trial (yellow dots on the tracker). The group start is in Durango this year heading northbound on July 21st at 4am. Tracking will be live here: Trackleaders
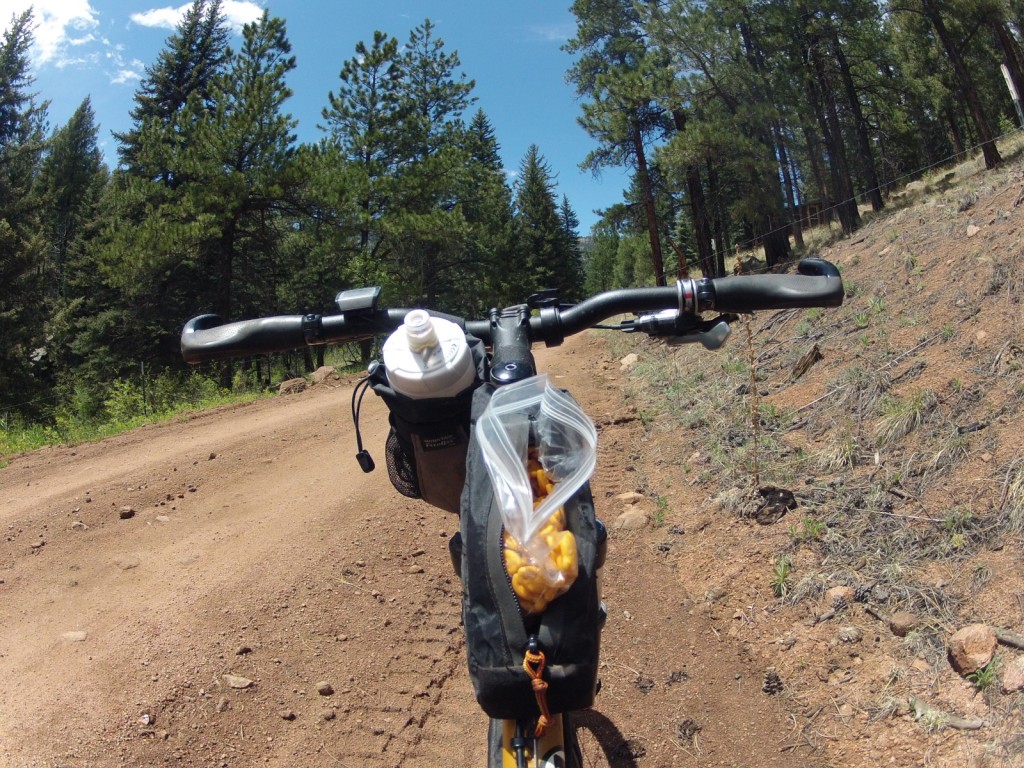
Bikepacking bags:
Revelate Designs: Handlebar Bag & Jerrycan
Cleaveland Mountaineering: Seat Bag, Gas Tank
All gear (minus bike) below including bags and backpack comes in at approx. 15 lbs.
For Food plan read this post
New Tent Below
New Revelate Designs Handlebar Bag below
The trail race is on again this year. For me it will be an ITT (Individual Time Trail) since I can’t be at the group start due to timing.
There are a couple changes this year. The group start will be in Durango for the first time, meaning the bulk of racers will be headed northbound toward Denver. There will still be a good chunk of riders following the traditional southbound route – me among them. Although all of us south-bounders this year will be considered ITT’ers.
I will be starting on my own, most likely, this year which will be very different from last year lining up with 65 other racers and charging up the Waterton Canyon road in a huge peloton. I will still have the SPOT tracking, will still be up on the race map on trackleaders and will still be attempting to race – except it will just be me against the clock. Lots of racers do ITT’s for different reasons: waiting for good weather windows, scheduling conflicts, wanting to do it alone, etc. For me it is simply scheduling, but I am intrigued with the thought of doing it solo.
The other big change this year is the removal of the 25 mile US-285 highway section detour and the re-introduction of the ‘official’ 75 mile Tarryall detour. This detour – among many along the CT for cyclists – skirts the Lost Creek Wilderness outside Bailey. Wilderness areas prohibit mechanized travel of which bikes unfortunately have become categorized. Maybe it’s a good thing, lot of debate around this issue. Either way this means a much longer detour on remote forest service roads: 30 miles on dirt, 40ish on pavement and 6 on singletrack to get you back to Kenosha Pass (instead of 25 relatively quick, yet hellishly dangerous miles on high-speed pavement from Bailey). This also removes Bailey as a resupply option, which means much more food needs to be carried from the start. For me, this will mean at least 2 full days of riding before any resupply, so I have to think carefully about what to carry from the start.
I have a few changes to make this year from experiences last year.
For number 1, it hit me on the first night of the race last year. A monstrous thunderstorm lashed all night on the first long night. I spent the whole night holding my bivy sack up off my face to stem the tide of water flowing INTO the bivy sack. Needless to say, in the morning I was weary and raw and wet. No way to spend the night. Also, I hated the thought of rain moving in as I set up camp. With no real shelter, it was very tricky to get changed into ‘camp’ clothes (meager to say the least while bikepacking) and get into the bivy during a rain event without getting wet (call me a wimp, just not before you spend a night at 10,500 feet in an alpine bivy sack in a torrential downpour, with rolling thunder and violent lighting…all night). So a tent it is. This one in particular. It weighs a good 10oz more than my bivy, but I will make up for that with #2.
For number 2, it hit me as I threw away my stove in Buena Vista after not using it once in the 3 days it took me to get there. I had brought a small Esbit stove with fuel tablets, a GSI mug, spork and lighter. All told, probably $50 bucks worth of gear – but useless weight to carry so it went in the trash in one fell swoop (I kept the lighter). Plus, the fuel tablet packets had broken in my seat bag and coated everything with a fine white powder. This year, I have assembled food and some ‘meals’ that don’t need any cooking whatsoever.
I realized on the first night, that the nature of the race leaves you exhausted and numb at the end of the day and you want nothing more than to just climb into your sleeping bag and sleep. In the morning, you are cold and stiff and want to get moving. For me there was no time for cooking. Shove in some food and sleep. In the morning, shove in some food and get rolling.
For number 3, it hit me as I stumbled around the City Market in Buena Vista trying to find 4 days worth of calories to shove in my bags for the next section of trail. From Buena Vista to your next resupply in Silverton awaits 200 miles of remote backcountry travel. For most, this is a significant roadblock, many racers drop out in BV, or Mt Princeton, or US-50 into Salida as I did. The realization of that monumental stretch of nothingness is enough to scare the uninitiated into retreat. It even looms above me now as I think about the trail. I’ll have to keep it out of mind until I am there and then just move forward mile by mile. It doesn’t help that the last half of the trail is the hardest half.
So for this year instead of stumbling through the store in a dazed, confused state (‘Should I buy this entire box of cereal because it has 1500 calories in it?’, ‘That summer sausage sure looks good?’) hoping that I buy enough calories, and stuff that I can actually eat on the trail, I will send a box through general delivery containing 4 days of carefully prepared and packed food. I will pick up that food at the post office, shove it in my bags and be off. There is a tradeoff here though: on one hand I get the piece of mind of knowing that I have enough food, good food, and carefully planned calories for each day; on the other hand what if the post office has just closed when I get there? I will have to wait until the following morning to get my food…and that could kill any momentum (or it could be just the rest I need before the next stage). Who knows.
As you can see, this stuff never leaves you. I think about these kinds of things daily. Will it always be like this? Will the CTR always be at the back of my head, random thoughts on how to do things better popping into my subconscious like popcorn kernels bursting into shape? Probably. That is the curse of the Colorado Trail. But I can think of worse curses.
For those interested the bike will not change. I apparently do not know how to save money – it helps to actually have any to save. 🙂
These handmade reproductions are designed after a mid-century Danish Modern design that I saw online. They are truly floating shelves and are intended to be bed-side, but I suppose they could be mounted in any room: near an entry door for your keys and mail for example.
I made them my own by adding a ‘pencil roll’ to the top edges and by using walnut – not typically a hardwood found in most Danish modern designs. Solid rosewood is pricey, and I do not like working with veneer. So while the design is truly Danish inspired, the result is something more local.
Preparing the stock below
My 5-minute shopmade taper jig just for the job:
Below is succession of photos showing how the ‘penicl roll’ detail was cut
Some photos below of the case work
The drawers slide on runners which are glued into grooves in the case sides.
Completed Stands
This table is designed to support train play as well as craft work (drawing, writing, etc). Most play tables out there are designed specifically for one of the other but none really for both. Train tables are set apart by the rim around the table to keep the trains and tracks on the surface, but this impedes writing at the table. Craft tables don’t have this rim and look more like a regular desk.
I combined both into my own design by cutting out a portion of the front rail making it flush with the table top enabling easier writing and drawing, and I cut a slot into a side rail to feed the paper through when writing. By cutting a slot you still have a rim to hold the trains and toys on the table top.
I used white oak for the legs, and red oak for the rails and dowel brackets. The table top is 3/4″ melamine. The dowel ‘wheel’ is walnut. There is a maple cross support beam under the table.
These were cut on the table saw with a simple homemade box joint jig. Combination square and knife were used to make slight marking cut which will reduce tear-out on the box joints. The chamfer was cut on the table saw, and the round over completed with file and rasp.
The legs were cut from 8 quarter material and planed to a final thickness of just under 2 inches. To attach them to the table top I cut a half tenon, or half lap, which the table top rails will rest on. The top portion of the tenon will act as a support for the tabletop. The half laps were cut on the table saw with a dado blade. The edges were eased with a hand plane.
The table top rails have some features that allow the table to act as a train table and a drawing table. The paper slot was cut with a straight bit on the router table. The rail cutout was first done on the table saw with a dado blade, then by hand to get the sloping angles on each end.
The paper roll is housed in a dowel supported by brackets that are mortised into the legs. I first used a hardwood template, then chiseled out the mortise by hand. I probably could have used a router here to save time. The bracket is then cut to shape using a jigsaw, and a forstner bit to cut the through hole. It is assembled with glue and screws.
There is a maple rail set into notches in oak brackets underneath the tabletop.
There is a small channel (cut with cove bit on the router table) to hold pens and pencils that I cut into a 1/2″ piece of oak. This piece is set into a rabbet on the front edge of the melamine table and comes flush with the table top.